

Valentines Day Fudge: the perfect homemade treat to melt hearts this February! Forget the chocolates and roses; this year, show your love with a decadent, creamy fudge that’s as easy to make as it is delightful to eat. I’m sharing my foolproof recipe for a rich, smooth fudge that will be the star of your Valentine’s Day celebration.
Fudge, in its simplest form, has been around since the late 19th century, born from a “fudged” batch of caramels. But it quickly evolved into a beloved confection, and this Valentines Day Fudge recipe takes that classic treat to a whole new level of romance. Imagine the look on your loved one’s face when you present them with a beautifully wrapped box of this homemade goodness!
What makes fudge so irresistible? It’s the texture, that perfect balance between soft and firm, and the intense sweetness that satisfies every craving. This particular recipe is a winner because it’s incredibly simple to make, requiring minimal ingredients and effort. Plus, it’s completely customizable! Add your favorite nuts, dried fruits, or even a swirl of caramel to make it truly your own. Get ready to spread the love with every delicious bite!

Ingredients:
- For the Fudge Base:
- 3 cups granulated sugar
- ¾ cup (1 ½ sticks) unsalted butter, cut into pieces
- ? cup evaporated milk
- ? teaspoon salt
- 1 (12 ounce) package semi-sweet chocolate chips
- 1 (7 ounce) jar marshmallow creme
- 1 teaspoon vanilla extract
- For the Valentine’s Day Swirl:
- 4 ounces white chocolate, chopped
- Red food coloring gel
- Pink food coloring gel
- Optional Toppings:
- Valentine’s Day sprinkles
- Chopped nuts (walnuts, pecans, or almonds)
- Miniature marshmallows
- Red and pink M&Ms
Preparing the Fudge Base
- Combine Sugar, Butter, Milk, and Salt: In a large, heavy-bottomed saucepan, combine the granulated sugar, butter, evaporated milk, and salt. Make sure your saucepan is large enough, as the mixture will bubble up quite a bit during cooking. Using a heavy-bottomed pan is crucial to prevent scorching.
- Cook Over Medium Heat: Place the saucepan over medium heat and stir constantly with a wooden spoon. It’s important to stir continuously to prevent the sugar from sticking to the bottom of the pan and burning. Continue stirring until the butter is completely melted and the sugar is dissolved.
- Bring to a Rolling Boil: Once the sugar is dissolved, bring the mixture to a full rolling boil. A “rolling boil” means that the mixture continues to boil even while you are stirring. Use a candy thermometer to monitor the temperature.
- Boil for Exactly 5 Minutes: Continue boiling for exactly 5 minutes, stirring constantly. This is a critical step, so set a timer and don’t deviate from the 5-minute timeframe. The temperature should reach 235°F (113°C), which is the soft-ball stage. If you don’t have a candy thermometer, you can test for the soft-ball stage by dropping a small amount of the mixture into a bowl of cold water. If it forms a soft, pliable ball, it’s ready.
- Remove from Heat: After 5 minutes, immediately remove the saucepan from the heat. It’s important to take it off the heat promptly to prevent overcooking.
- Add Chocolate Chips and Marshmallow Creme: Add the semi-sweet chocolate chips and marshmallow creme to the hot mixture. Do not stir yet! Let the heat of the mixture melt the chocolate chips for a minute or two.
- Stir Until Smooth: After a minute or two, begin stirring the mixture gently until the chocolate chips and marshmallow creme are completely melted and the fudge is smooth and creamy. Be patient and continue stirring until all lumps are gone.
- Stir in Vanilla Extract: Stir in the vanilla extract. This enhances the flavor of the fudge.
Creating the Valentine’s Day Swirl
- Melt the White Chocolate: Place the chopped white chocolate in a microwave-safe bowl. Microwave in 30-second intervals, stirring after each interval, until the chocolate is completely melted and smooth. Be careful not to overheat the chocolate, as it can seize up.
- Divide the White Chocolate: Divide the melted white chocolate into two small bowls.
- Add Food Coloring: Add a few drops of red food coloring gel to one bowl of white chocolate and stir until you achieve your desired shade of pink or red. Add a few drops of pink food coloring gel to the other bowl of white chocolate and stir until you achieve your desired shade of pink. You can adjust the amount of food coloring to create different shades of pink and red.
Assembling and Setting the Fudge
- Prepare the Pan: Line an 8×8 inch square baking pan with parchment paper, leaving an overhang on two sides. This will make it easy to lift the fudge out of the pan later. Make sure the parchment paper is smooth and covers the entire bottom and sides of the pan.
- Pour Fudge Base into Pan: Pour the fudge base into the prepared pan and spread it evenly with a spatula.
- Drizzle with White Chocolate: Drizzle the pink and red melted white chocolate over the fudge base in a random pattern.
- Create the Swirl: Use a toothpick or knife to swirl the pink and red white chocolate into the fudge base. Be careful not to over-swirl, as this can muddy the colors. You want to create a beautiful marbled effect.
- Add Toppings (Optional): If desired, sprinkle the fudge with Valentine’s Day sprinkles, chopped nuts, miniature marshmallows, or red and pink M&Ms. Gently press the toppings into the fudge so they adhere well.
- Chill the Fudge: Cover the pan with plastic wrap and refrigerate for at least 2 hours, or preferably overnight, to allow the fudge to set completely.
- Cut and Serve: Once the fudge is set, lift it out of the pan using the parchment paper overhang. Place the fudge on a cutting board and cut it into small squares. Serve and enjoy!
Tips for Success
- Use a Candy Thermometer: A candy thermometer is essential for making fudge. It ensures that the mixture reaches the correct temperature, which is crucial for achieving the right consistency.
- Stir Constantly: Stirring constantly while cooking the fudge base prevents the sugar from burning and ensures that the mixture cooks evenly.
- Don’t Overcook: Overcooking the fudge can result in a dry, crumbly texture. Be sure to remove the saucepan from the heat as soon as the mixture reaches the soft-ball stage.
- Use High-Quality Chocolate: Using high-quality chocolate will result in a richer, more flavorful fudge.
- Get Creative with Toppings: Feel free to experiment with different toppings to create your own unique Valentine’s Day fudge.
- Storage: Store the fudge in an airtight container at room temperature for up to a week, or in the refrigerator for up to two weeks.
Variations
- Peanut Butter Fudge: Add 1 cup of peanut butter to the fudge base along with the chocolate chips and marshmallow creme.
- Chocolate Walnut Fudge: Add 1 cup of chopped walnuts to the fudge base along with the chocolate chips and marshmallow creme.
- Mint Chocolate Fudge: Add ½ teaspoon of peppermint extract to the fudge base along with the vanilla extract.
- Dark Chocolate Fudge: Use dark chocolate chips instead of semi-sweet chocolate chips.
- Vegan Fudge: Substitute the butter with vegan butter, the evaporated milk with coconut milk, and the chocolate chips with vegan chocolate chips. Ensure the marshmallow creme is also vegan.
Troubleshooting
- Fudge is too soft: If your fudge is too soft, it may not have been cooked to the correct temperature. You can try re-melting the fudge and cooking it to a slightly higher temperature.
- Fudge is too hard: If your fudge is too hard, it may have been overcooked. Unfortunately, there’s not much you can do to fix overcooked fudge.
- Fudge is grainy: Grainy fudge can be caused by undissolved sugar crystals. Make sure to stir the mixture constantly while cooking to prevent sugar crystals from forming.
- Fudge is not setting: If your fudge is not setting, it may be due to high humidity. Try refrigerating the fudge for a longer period of time.
Serving Suggestions
- Serve the fudge as a sweet treat for Valentine’s Day.
- Package the fudge in small boxes or bags and give it as gifts.
- Serve the fudge with a scoop of ice cream.
- Crumble the fudge over brownies or cookies.
- Use the fudge as a topping for cakes or cupcakes.
Conclusion:
This Valentine’s Day Fudge is more than just a sweet treat; it’s a declaration of love in every bite! Seriously, if you’re looking for a way to impress your sweetheart, your family, or even just yourself (self-love is important!), this recipe is an absolute must-try. The rich, decadent chocolate, combined with the creamy, melt-in-your-mouth texture, creates an experience that’s simply irresistible. It’s the perfect balance of indulgence and ease, making it a winner for both experienced bakers and kitchen novices alike.
But why is it a must-try, you ask? Well, beyond the incredible flavor, it’s the sheer versatility. This fudge isn’t just for Valentine’s Day, although it certainly shines then! Think about it: birthdays, anniversaries, holiday gatherings, or even just a random Tuesday when you need a little pick-me-up. This recipe adapts beautifully to any occasion.
And speaking of versatility, let’s talk serving suggestions and variations! For a classic presentation, cut the fudge into neat squares and arrange them on a pretty platter. Dust them lightly with cocoa powder or powdered sugar for an elegant touch. Or, get creative! Crumble the fudge over ice cream for a decadent sundae topping. Chop it up and stir it into your favorite brownie batter for an extra layer of chocolatey goodness. You could even melt it down and use it as a dipping sauce for strawberries or pretzels. The possibilities are truly endless!
Looking for variations? Oh, I’ve got you covered! Want to add a little crunch? Stir in some chopped nuts, like walnuts, pecans, or almonds. Craving something a little salty? Sprinkle a pinch of sea salt on top before the fudge sets. Feeling adventurous? Add a swirl of peanut butter or caramel for an extra layer of flavor. For a festive touch, incorporate some Valentine’s Day themed sprinkles or candies. You can even use different types of chocolate, like dark chocolate for a more intense flavor or white chocolate for a sweeter treat. I personally love adding a touch of espresso powder to enhance the chocolate flavor it’s a game changer!
I’ve poured my heart into perfecting this recipe, and I truly believe you’ll love it as much as I do. It’s simple, straightforward, and guaranteed to deliver delicious results. So, what are you waiting for? Gather your ingredients, preheat your oven (just kidding, no baking required!), and get ready to create some magic in the kitchen.
I’m so excited for you to try this Valentine’s Day Fudge recipe! Once you’ve made it, please, please, please share your experience with me! Let me know what variations you tried, what your loved ones thought, and any tips or tricks you discovered along the way. You can leave a comment below, tag me on social media, or even send me a carrier pigeon (just kidding… mostly!). I can’t wait to hear all about your fudge-making adventures! Happy baking (or, in this case, chilling)!
Valentines Day Fudge: The Ultimate Guide to Making Delicious Fudge
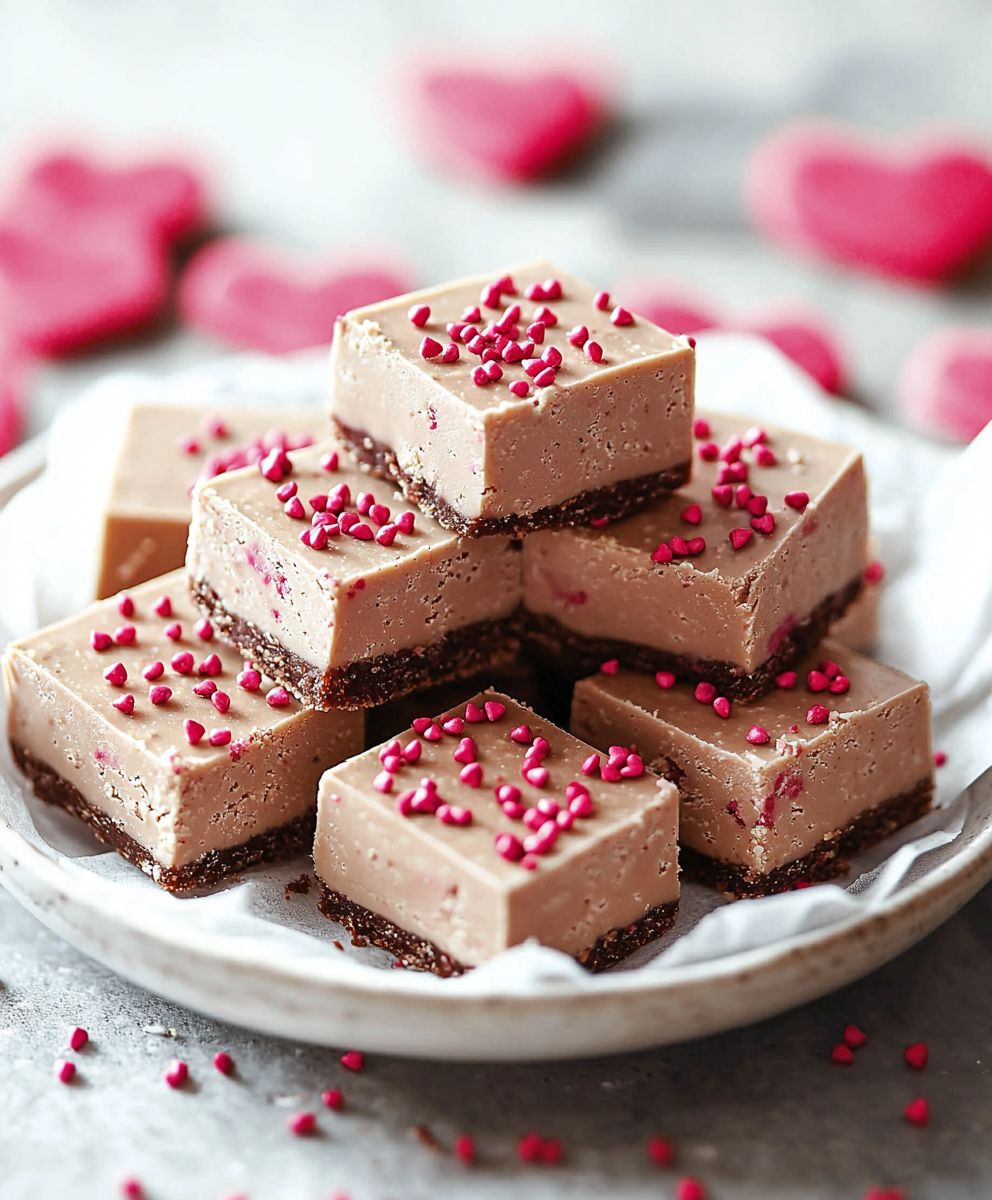
Rich, creamy Valentine's Day fudge featuring a beautiful pink and red swirl. Perfect for gifting or a sweet treat!
Ingredients
- 3 cups granulated sugar
- ¾ cup (1 ½ sticks) unsalted butter, cut into pieces
- ? cup evaporated milk
- ? teaspoon salt
- 1 (12 ounce) package semi-sweet chocolate chips
- 1 (7 ounce) jar marshmallow creme
- 1 teaspoon vanilla extract
- 4 ounces white chocolate, chopped
- Red food coloring gel
- Pink food coloring gel
- Valentine’s Day sprinkles
- Chopped nuts (walnuts, pecans, or almonds)
- Miniature marshmallows
- Red and pink M&Ms
Instructions
- Combine Sugar, Butter, Milk, and Salt: In a large, heavy-bottomed saucepan, combine the granulated sugar, butter, evaporated milk, and salt.
- Cook Over Medium Heat: Place the saucepan over medium heat and stir constantly with a wooden spoon until the butter is completely melted and the sugar is dissolved.
- Bring to a Rolling Boil: Bring the mixture to a full rolling boil, stirring constantly. Use a candy thermometer to monitor the temperature.
- Boil for Exactly 5 Minutes: Continue boiling for exactly 5 minutes, stirring constantly. The temperature should reach 235°F (113°C), which is the soft-ball stage.
- Remove from Heat: After 5 minutes, immediately remove the saucepan from the heat.
- Add Chocolate Chips and Marshmallow Creme: Add the semi-sweet chocolate chips and marshmallow creme to the hot mixture. Let the heat of the mixture melt the chocolate chips for a minute or two.
- Stir Until Smooth: Begin stirring the mixture gently until the chocolate chips and marshmallow creme are completely melted and the fudge is smooth and creamy.
- Stir in Vanilla Extract: Stir in the vanilla extract.
- Melt the White Chocolate: Place the chopped white chocolate in a microwave-safe bowl. Microwave in 30-second intervals, stirring after each interval, until the chocolate is completely melted and smooth.
- Divide the White Chocolate: Divide the melted white chocolate into two small bowls.
- Add Food Coloring: Add a few drops of red food coloring gel to one bowl of white chocolate and stir until you achieve your desired shade of pink or red. Add a few drops of pink food coloring gel to the other bowl of white chocolate and stir until you achieve your desired shade of pink.
- Prepare the Pan: Line an 8×8 inch square baking pan with parchment paper, leaving an overhang on two sides.
- Pour Fudge Base into Pan: Pour the fudge base into the prepared pan and spread it evenly with a spatula.
- Drizzle with White Chocolate: Drizzle the pink and red melted white chocolate over the fudge base in a random pattern.
- Create the Swirl: Use a toothpick or knife to swirl the pink and red white chocolate into the fudge base.
- Add Toppings (Optional): If desired, sprinkle the fudge with Valentine’s Day sprinkles, chopped nuts, miniature marshmallows, or red and pink M&Ms. Gently press the toppings into the fudge so they adhere well.
- Chill the Fudge: Cover the pan with plastic wrap and refrigerate for at least 2 hours, or preferably overnight, to allow the fudge to set completely.
- Cut and Serve: Once the fudge is set, lift it out of the pan using the parchment paper overhang. Place the fudge on a cutting board and cut it into small squares. Serve and enjoy!
Notes
- Use a heavy-bottomed saucepan to prevent scorching.
- Stir constantly while cooking the fudge base to prevent the sugar from burning.
- A candy thermometer is essential for making fudge.
- Don’t overcook the fudge, or it will be dry and crumbly.
- Use high-quality chocolate for a richer, more flavorful fudge.
- Feel free to experiment with different toppings.
- Store the fudge in an airtight container at room temperature for up to a week, or in the refrigerator for up to two weeks.


Leave a Comment