

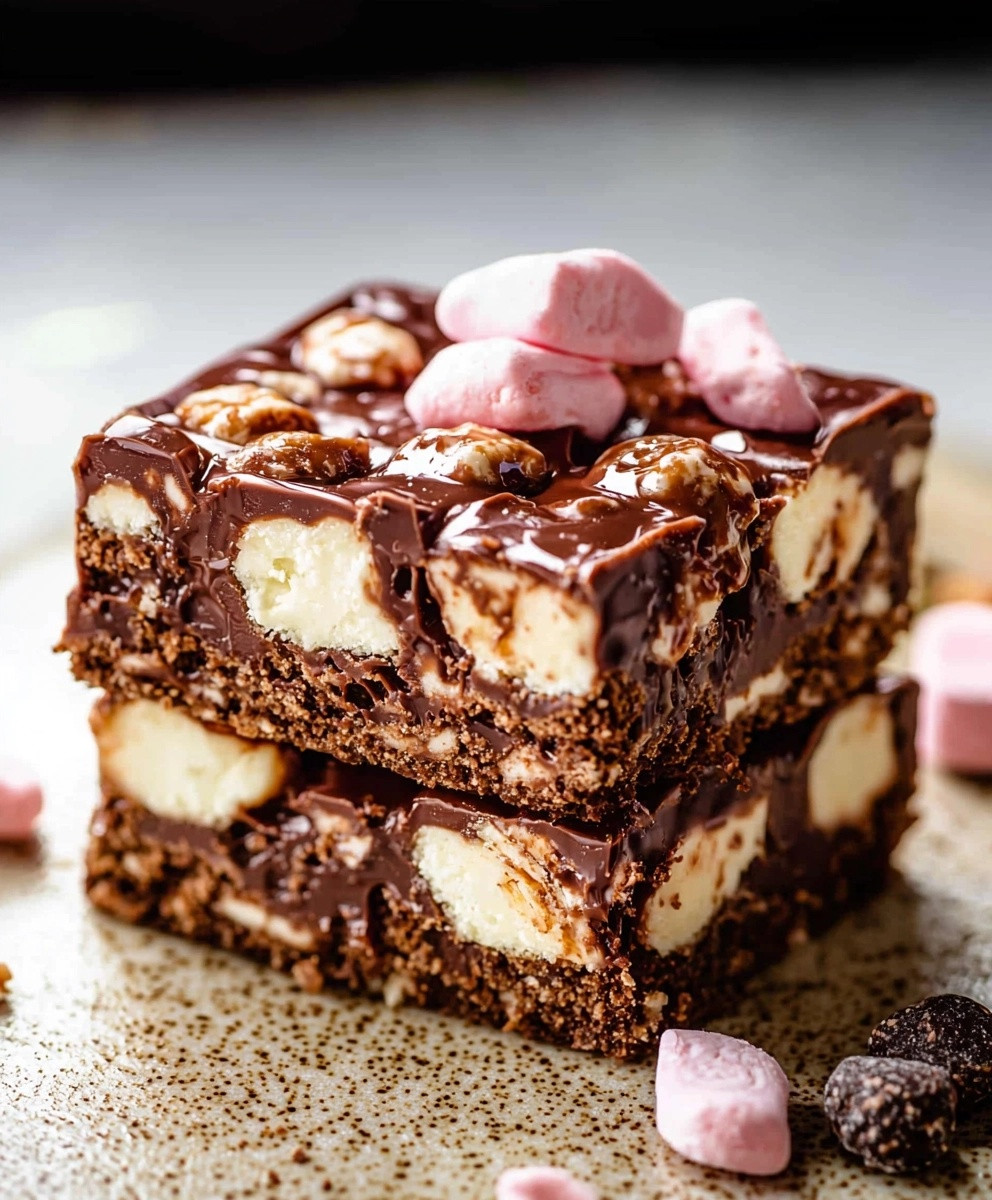
Rocky Road dessert is a delightful treat that brings together a medley of flavors and textures, making it a favorite among dessert lovers. Originating in the 1920s, this indulgent concoction was created as a way to lift spirits during tough times, and it has since become a beloved classic in many households. The combination of rich chocolate, crunchy nuts, and fluffy marshmallows creates a symphony of taste that is both comforting and satisfying.
What I adore about Rocky Road dessert is its versatility; it can be enjoyed as a no-bake treat or baked into a decadent brownie. The chewy marshmallows paired with the nutty crunch provide a delightful contrast that keeps you coming back for more. Plus, its incredibly easy to make, which is why it has earned a special place in my heart and in the hearts of many. Whether youre hosting a gathering or simply craving something sweet, Rocky Road dessert is sure to impress and satisfy your sweet tooth!

Ingredients:
- 200g (7 oz) dark chocolate, chopped
- 100g (3.5 oz) milk chocolate, chopped
- 100g (3.5 oz) unsalted butter, cubed
- 1 cup (150g) mini marshmallows
- 1 cup (150g) digestive biscuits, crushed
- 1 cup (150g) mixed nuts (such as almonds, walnuts, and hazelnuts), roughly chopped
- 1/2 cup (75g) dried cherries or cranberries (optional)
- 1/4 cup (30g) icing sugar, for dusting
- 1 teaspoon vanilla extract
Preparing the Chocolate Mixture
- Start by gathering all your ingredients. Its always easier to have everything at hand before you begin cooking.
- In a medium saucepan, combine the chopped dark chocolate, milk chocolate, and cubed butter. Place the saucepan over low heat.
- Stir the mixture gently with a spatula or wooden spoon until everything is melted and smooth. Be careful not to let it boil; we just want it to melt gently.
- Once melted, remove the saucepan from the heat and let it cool for a few minutes. This will prevent the marshmallows from melting when we add them later.
Mixing in the Ingredients
- In a large mixing bowl, combine the mini marshmallows, crushed digestive biscuits, chopped nuts, and dried cherries or cranberries if youre using them.
- Pour the cooled chocolate mixture over the dry ingredients in the bowl. Add the vanilla extract at this stage for an extra layer of flavor.
- Using a spatula, gently fold the chocolate mixture into the dry ingredients. Be careful not to crush the marshmallows too much; we want them to retain their shape and provide that delightful chewy texture.
- Continue folding until everything is well combined and all the dry ingredients are coated in the chocolate mixture.
Setting the Rocky Road
- Line a square baking dish (approximately 8×8 inches) with parchment paper, leaving some overhang on the sides for easy removal later.
- Transfer the rocky road mixture into the prepared baking dish. Use the spatula to spread it evenly and press it down gently to compact the mixture.
- Once its evenly spread, you can sprinkle a few extra nuts or marshmallows on top for decoration if you like.
- Cover the baking dish with plastic wrap or foil and place it in the refrigerator. Let it chill for at least 2 hours, or until its firm enough to cut into squares.
Cutting and Serving
- After the rocky road has set, remove it from the refrigerator. Use the overhanging parchment paper to lift it out of the baking dish.
- Place it on a cutting board and use a sharp knife to cut it into squares or rectangles, depending on your preference.
- Dust the top with icing sugar for a lovely finish. This not only adds a touch of sweetness but also makes it look more appealing.
- Serve the rocky road squares on a platter or in individual paper cases for a fun presentation. Theyre perfect for parties, gatherings, or just a sweet treat at home!
Storage Tips
- If you have any leftovers (which is rare!), store them in an airtight container in the refrigerator. They should keep well for about a week.
- You can also freeze the rocky road squares. Just make sure to wrap them tightly in plastic wrap and then place them in a freezer-safe container. They can last up to 3 months in the freezer.
- When youre ready to enjoy them again, simply thaw them in the refrigerator overnight before serving.
Variations and Customizations
- Feel free to get creative with your rocky road! You can substitute the nuts with your favorites, such as pecans or pist
Conclusion:
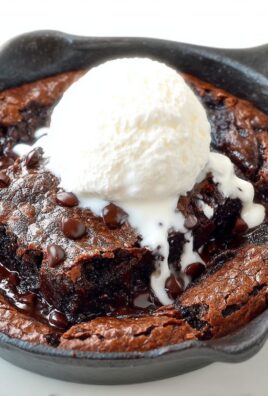
In summary, this Rocky Road dessert is an absolute must-try for anyone who loves a delightful combination of textures and flavors. The rich chocolate, crunchy nuts, and chewy marshmallows come together to create a treat that is not only indulgent but also incredibly satisfying. Whether youre serving it at a party, enjoying it as a sweet snack, or even gifting it to a friend, this dessert is sure to impress. For serving suggestions, consider pairing your Rocky Road dessert with a scoop of vanilla ice cream or a drizzle of warm chocolate sauce for an extra touch of decadence. You can also experiment with variations by adding your favorite mix-ins, such as dried fruits, coconut flakes, or even a sprinkle of sea salt to enhance the flavor profile. The beauty of this recipe lies in its versatility, allowing you to customize it to your liking. I encourage you to give this Rocky Road dessert a try and share your experience with friends and family. Id love to hear how it turns out for you! Dont forget to snap a picture and tag me on social media so we can celebrate your delicious creation together. Happy baking! Print
Rocky Road Dessert: A Decadent Treat You Can Make at Home
- Total Time: 145 minutes
- Yield: 16 squares 1x
Description
Enjoy a delicious no-bake Rocky Road dessert featuring a delightful mix of rich chocolate, chewy marshmallows, crunchy nuts, and optional dried fruit. This easy-to-make treat is perfect for parties or as a sweet snack at home, guaranteed to satisfy your cravings!
Ingredients
Scale- 200g dark chocolate, chopped
- 100g milk chocolate, chopped
- 100g unsalted butter, cubed
- 1 cup mini marshmallows
- 1 cup digestive biscuits, crushed
- 1 cup mixed nuts, roughly chopped
- 1/2 cup dried cherries or cranberries (optional)
- 1/4 cup icing sugar, for dusting
- 1 teaspoon vanilla extract
Instructions
- Gather all your ingredients for ease of preparation.
- In a medium saucepan, combine the chopped dark chocolate, milk chocolate, and cubed butter. Place over low heat.
- Stir gently with a spatula or wooden spoon until melted and smooth, avoiding boiling.
- Remove from heat and let cool for a few minutes to prevent melting the marshmallows.
- In a large mixing bowl, combine mini marshmallows, crushed digestive biscuits, chopped nuts, and dried cherries or cranberries (if using).
- Pour the cooled chocolate mixture over the dry ingredients and add vanilla extract.
- Gently fold the chocolate mixture into the dry ingredients with a spatula, being careful not to crush the marshmallows.
- Continue folding until everything is well combined and coated in chocolate.
- Line an 8×8 inch square baking dish with parchment paper, leaving overhang for easy removal.
- Transfer the rocky road mixture into the prepared dish, spreading it evenly and pressing down gently.
- Optionally, sprinkle extra nuts or marshmallows on top for decoration.
- Cover with plastic wrap or foil and refrigerate for at least 2 hours, or until firm.
- Once set, lift the rocky road out of the dish using the parchment paper.
- Place on a cutting board and cut into squares or rectangles.
- Dust the top with icing sugar for a sweet finish.
- Serve on a platter or in individual paper cases for a fun presentation.
Notes
- Der Teig darf während der Ruhezeit nicht bewegt werden.
- Für ein intensiveres Knoblaucharoma können mehr Zehen verwendet werden.
- Prep Time: 15 minutes
- Cook Time: 10 minutes


Leave a Comment