

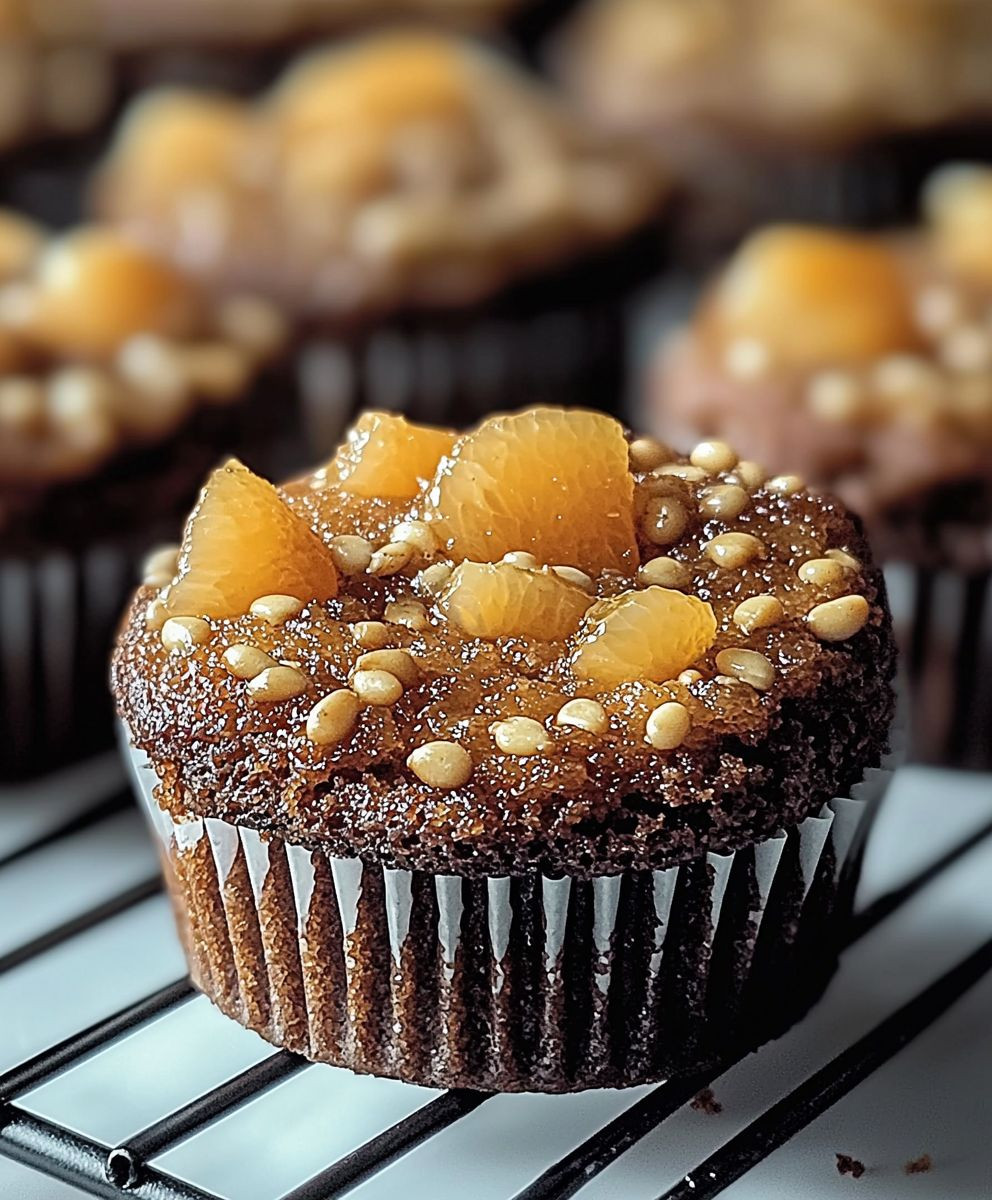
Orange Bars: Prepare to be transported to a citrusy paradise with this delightful recipe! Imagine sinking your teeth into a buttery, crumbly crust topped with a tangy, sweet, and utterly irresistible orange filling. These aren’t just any dessert; they’re sunshine on a plate, guaranteed to brighten even the gloomiest of days.
While the exact origins of orange bars are a bit hazy, similar citrus curd desserts have been enjoyed for centuries, particularly in regions with abundant citrus fruit. Think of the classic lemon bars, a close cousin, which have graced tea tables and bake sales for generations. This orange variation brings a unique twist, offering a slightly sweeter and less tart flavor profile that many find incredibly appealing.
What makes these bars so beloved? It’s a combination of factors. The contrasting textures the crisp, shortbread-like base against the smooth, creamy filling create a symphony in your mouth. The vibrant orange flavor is both refreshing and comforting, making them perfect for any occasion, from a casual afternoon treat to an elegant dessert spread. Plus, they’re surprisingly easy to make! With just a handful of ingredients and a simple baking process, you can whip up a batch of these delectable bars in no time. Get ready to experience the joy of homemade goodness with this fantastic recipe!

Ingredients:
- For the Crust:
- 1 ½ cups all-purpose flour
- ½ cup (1 stick) unsalted butter, cold and cubed
- ½ cup powdered sugar
- ¼ teaspoon salt
- 2 tablespoons ice water
- For the Filling:
- 4 large eggs
- 2 cups granulated sugar
- ¼ cup all-purpose flour
- ¼ teaspoon baking powder
- ½ teaspoon salt
- ½ cup (1 stick) unsalted butter, melted
- ½ cup freshly squeezed orange juice (from about 2-3 oranges)
- 2 tablespoons orange zest (from about 2-3 oranges)
- 1 teaspoon vanilla extract
- For the Optional Glaze:
- 1 cup powdered sugar
- 2-3 tablespoons orange juice (or milk, for a less intense orange flavor)
- ½ teaspoon orange zest (optional)
Preparing the Crust:
- Combine Dry Ingredients: In a large bowl, whisk together the flour, powdered sugar, and salt. This ensures the powdered sugar is evenly distributed and prevents lumps in the crust.
- Cut in the Butter: Add the cold, cubed butter to the flour mixture. Using a pastry blender or your fingertips, cut the butter into the flour until the mixture resembles coarse crumbs. The key here is to work quickly so the butter stays cold. Cold butter is essential for a flaky crust! If you don’t have a pastry blender, you can use two knives to cut the butter in.
- Add Ice Water: Gradually add the ice water, one tablespoon at a time, mixing until the dough just comes together. Be careful not to overmix! Overmixing develops the gluten in the flour, which will result in a tough crust. You want a tender, crumbly crust. The dough should be slightly moist but not sticky.
- Form the Dough: Gently gather the dough into a ball. Flatten it into a disc, wrap it in plastic wrap, and refrigerate for at least 30 minutes. This chilling time allows the gluten to relax and the butter to firm up, which will prevent the crust from shrinking during baking. You can chill it for longer, even overnight, if needed.
- Preheat Oven and Prepare Pan: Preheat your oven to 350°F (175°C). Grease and flour a 9×13 inch baking pan. Alternatively, you can line the pan with parchment paper, leaving an overhang on the sides for easy removal of the bars after baking. This is my preferred method because it guarantees the bars won’t stick and makes cleanup a breeze.
- Roll Out the Dough: On a lightly floured surface, roll out the chilled dough to fit the bottom of the prepared pan. If the dough is sticking, add a little more flour to your rolling surface. You want the dough to be evenly thick, about 1/8 inch.
- Press into Pan: Carefully transfer the rolled-out dough to the prepared pan. Press it evenly into the bottom and slightly up the sides of the pan. Use a fork to prick the bottom of the crust several times. This prevents the crust from puffing up during baking.
- Pre-bake the Crust: Bake the crust for 15-20 minutes, or until lightly golden brown. This pre-baking step ensures that the crust is fully cooked and prevents it from becoming soggy when the filling is added. Keep a close eye on it, as oven temperatures can vary.
Making the Orange Filling:
- Whisk Eggs and Sugar: In a large bowl, whisk together the eggs and granulated sugar until light and fluffy. This usually takes about 2-3 minutes. The mixture should be pale yellow and slightly thickened.
- Combine Dry Ingredients: In a separate bowl, whisk together the flour, baking powder, and salt. This ensures that the baking powder is evenly distributed, which will help the filling rise properly.
- Add Dry Ingredients to Wet Ingredients: Gradually add the dry ingredients to the egg mixture, whisking until just combined. Be careful not to overmix. Overmixing can develop the gluten in the flour, which will result in a tough filling.
- Add Melted Butter, Orange Juice, Orange Zest, and Vanilla: Stir in the melted butter, orange juice, orange zest, and vanilla extract until well combined. Make sure the butter is not too hot, as it could cook the eggs. The orange zest is key to getting that intense orange flavor, so don’t skip it!
Baking the Orange Bars:
- Pour Filling into Crust: Pour the orange filling over the pre-baked crust, spreading it evenly.
- Bake: Bake in the preheated oven for 25-30 minutes, or until the filling is set and lightly golden brown. The center of the filling should be set, but still slightly jiggly. If the crust starts to brown too quickly, you can tent the pan with aluminum foil.
- Cool Completely: Remove the bars from the oven and let them cool completely in the pan before cutting. This is important because the filling will continue to set as it cools. If you try to cut the bars while they are still warm, they will be messy and difficult to handle.
Preparing the Optional Glaze:
- Whisk Together Ingredients: In a small bowl, whisk together the powdered sugar and orange juice (or milk) until smooth. Add the orange zest, if using. The glaze should be thick enough to coat the bars, but thin enough to drizzle easily. If the glaze is too thick, add a little more orange juice or milk. If it’s too thin, add a little more powdered sugar.
- Drizzle Over Bars: Once the bars are completely cool, drizzle the glaze evenly over the top.
- Let Glaze Set: Let the glaze set for about 15-20 minutes before cutting the bars. This will prevent the glaze from smearing when you cut them.
Cutting and Serving:
- Cut into Bars: Use a sharp knife to cut the bars into squares or rectangles. For clean cuts, you can wipe the knife clean between each cut.
- Serve and Enjoy: Serve the orange bars at room temperature. They are delicious on their own, or you can serve them with a scoop of vanilla ice cream or a dollop of whipped cream.
Tips for Success:
- Use Cold Butter: Cold butter is essential for a flaky crust. Make sure the butter is very cold before you start making the crust.
- Don’t Overmix: Overmixing the dough or the filling can result in a tough crust or filling. Mix until just combined.
- Use Freshly Squeezed Orange Juice: Freshly squeezed orange juice will give the bars the best flavor.
- Don’t Overbake: Overbaking the bars can result in a dry filling. Bake until the filling is set but still slightly jiggly.
- Cool Completely: Let the bars cool completely before cutting. This will prevent the filling from being messy.
Storage Instructions:
Store the orange bars in an airtight container at room temperature for up to 3 days, or in the refrigerator for up to 5 days. You can also freeze the bars for up to 2 months. To freeze, wrap the bars individually in plastic wrap and then place them in a freezer-safe bag or container. Thaw the bars in the refrigerator before serving.
Conclusion:
And there you have it! These orange bars are more than just a dessert; they’re a burst of sunshine in every bite, a comforting treat that’s surprisingly simple to make, and a guaranteed crowd-pleaser. I truly believe this recipe is a must-try for anyone who loves citrus, baking, or simply wants to impress their friends and family with a homemade delight. Why is it a must-try, you ask? Well, beyond the incredible flavor, which perfectly balances the tangy zest of fresh oranges with a buttery, melt-in-your-mouth shortbread crust, it’s the sheer versatility of these bars that makes them so appealing. They’re perfect for everything from a casual afternoon tea to a more formal dessert spread. Plus, the recipe is incredibly forgiving, making it ideal for both seasoned bakers and those just starting out on their baking journey. But the best part? You can easily customize these orange bars to suit your own preferences. Feeling adventurous? Try adding a sprinkle of chopped pecans or walnuts to the crust for a delightful nutty crunch. Or, for an extra layer of decadence, drizzle a simple white chocolate glaze over the cooled bars. A dusting of powdered sugar always adds a touch of elegance, too. For serving suggestions, I personally love these bars chilled straight from the refrigerator, especially on a warm day. They’re also fantastic served alongside a scoop of vanilla ice cream or a dollop of whipped cream. And if you’re looking for a truly special treat, try pairing them with a cup of hot Earl Grey tea the citrus notes complement each other beautifully. Don’t be afraid to experiment with different types of oranges, too! While I’ve used navel oranges in this recipe, you could easily substitute blood oranges for a richer, more complex flavor and a stunning ruby-red hue. Or, for a slightly sweeter and less tart bar, try using mandarin oranges. The possibilities are endless! I’ve poured my heart into perfecting this recipe, and I’m confident that you’ll love it as much as I do. It’s a recipe that I’ve made countless times for friends and family, and it always receives rave reviews. The bright, citrusy flavor is simply irresistible, and the buttery shortbread crust is the perfect complement. So, what are you waiting for? Preheat your oven, gather your ingredients, and get ready to bake up a batch of these incredible orange bars. I promise you won’t regret it! And most importantly, I’d love to hear about your experience! Once you’ve tried the recipe, please come back and leave a comment below. Let me know what you thought, what variations you tried, and any tips or tricks you discovered along the way. Your feedback is invaluable, and it helps me to continue creating and sharing delicious recipes that you’ll love. Happy baking! I can’t wait to hear all about your baking adventures! Print
Orange Bars: The Ultimate Guide to Delicious and Nutritious Treats
- Total Time: 100 minutes
- Yield: 12–16 bars 1x
Description
Tangy and sweet orange bars with a buttery, crumbly crust and a bright citrus glaze. Perfect for a refreshing dessert or afternoon treat!
Ingredients
- 1 ½ cups all-purpose flour
- ½ cup (1 stick) unsalted butter, cold and cubed
- ½ cup powdered sugar
- ¼ teaspoon salt
- 2 tablespoons ice water
- 4 large eggs
- 2 cups granulated sugar
- ¼ cup all-purpose flour
- ¼ teaspoon baking powder
- ½ teaspoon salt
- ½ cup (1 stick) unsalted butter, melted
- ½ cup freshly squeezed orange juice (from about 2–3 oranges)
- 2 tablespoons orange zest (from about 2–3 oranges)
- 1 teaspoon vanilla extract
- 1 cup powdered sugar
- 2–3 tablespoons orange juice (or milk, for a less intense orange flavor)
- ½ teaspoon orange zest (optional)
Instructions
- In a large bowl, whisk together the flour, powdered sugar, and salt.
- Add the cold, cubed butter to the flour mixture. Using a pastry blender or your fingertips, cut the butter into the flour until the mixture resembles coarse crumbs.
- Gradually add the ice water, one tablespoon at a time, mixing until the dough just comes together. Be careful not to overmix!
- Gently gather the dough into a ball. Flatten it into a disc, wrap it in plastic wrap, and refrigerate for at least 30 minutes.
- Preheat your oven to 350°F (175°C). Grease and flour a 9×13 inch baking pan. Alternatively, you can line the pan with parchment paper, leaving an overhang on the sides for easy removal of the bars after baking.
- On a lightly floured surface, roll out the chilled dough to fit the bottom of the prepared pan.
- Carefully transfer the rolled-out dough to the prepared pan. Press it evenly into the bottom and slightly up the sides of the pan. Use a fork to prick the bottom of the crust several times.
- Bake the crust for 15-20 minutes, or until lightly golden brown.
- In a large bowl, whisk together the eggs and granulated sugar until light and fluffy.
- In a separate bowl, whisk together the flour, baking powder, and salt.
- Gradually add the dry ingredients to the egg mixture, whisking until just combined. Be careful not to overmix.
- Stir in the melted butter, orange juice, orange zest, and vanilla extract until well combined.
- Pour the orange filling over the pre-baked crust, spreading it evenly.
- Bake in the preheated oven for 25-30 minutes, or until the filling is set and lightly golden brown.
- Remove the bars from the oven and let them cool completely in the pan before cutting.
- In a small bowl, whisk together the powdered sugar and orange juice (or milk) until smooth. Add the orange zest, if using.
- Once the bars are completely cool, drizzle the glaze evenly over the top.
- Let the glaze set for about 15-20 minutes before cutting the bars.
- Use a sharp knife to cut the bars into squares or rectangles. For clean cuts, you can wipe the knife clean between each cut.
- Serve the orange bars at room temperature. They are delicious on their own, or you can serve them with a scoop of vanilla ice cream or a dollop of whipped cream.
Notes
- Use Cold Butter: Cold butter is essential for a flaky crust. Make sure the butter is very cold before you start making the crust.
- Don’t Overmix: Overmixing the dough or the filling can result in a tough crust or filling. Mix until just combined.
- Use Freshly Squeezed Orange Juice: Freshly squeezed orange juice will give the bars the best flavor.
- Don’t Overbake: Overbaking the bars can result in a dry filling. Bake until the filling is set but still slightly jiggly.
- Cool Completely: Let the bars cool completely before cutting. This will prevent the filling from being messy.
- Storage Instructions: Store the orange bars in an airtight container at room temperature for up to 3 days, or in the refrigerator for up to 5 days. You can also freeze the bars for up to 2 months. To freeze, wrap the bars individually in plastic wrap and then place them in a freezer-safe bag or container. Thaw the bars in the refrigerator before serving.
- Prep Time: 30 minutes
- Cook Time: 40 minutes


Leave a Comment