Marshmallow Icing: the fluffy, cloud-like topping that transforms ordinary cakes and cupcakes into extraordinary delights! Have you ever wondered how to achieve that perfect, sweet, and slightly gooey finish that makes everyone swoon? Well, you’re in the right place. I’m going to share my foolproof recipe for this delectable icing that will have your desserts disappearing in minutes.
While the exact origins of marshmallow icing are a bit hazy, its popularity soared in the mid-20th century alongside the rise of convenient baking ingredients. It’s a testament to our love for simple pleasures and the magic that happens when you combine sugar, egg whites, and a touch of vanilla. This icing evokes a sense of nostalgia, reminding many of childhood birthdays and homemade treats.
What makes this icing so irresistible? It’s the perfect balance of sweetness and airy texture. Unlike heavy buttercream, marshmallow icing is light and fluffy, melting in your mouth with each bite. It’s incredibly versatile, pairing well with chocolate, vanilla, red velvet, and just about any cake flavor you can imagine. Plus, it’s surprisingly easy to make, requiring only a few basic ingredients and a little bit of patience. Get ready to elevate your baking game with this simple yet stunning icing!
Ingredients:
- 7 ounces (about 200g) granulated sugar
- 1/2 cup (120ml) water
- 1/4 teaspoon cream of tartar
- 2 large egg whites, at room temperature
- 1 teaspoon pure vanilla extract
- Pinch of salt
Preparing the Sugar Syrup:
This is the most crucial part of the marshmallow icing. Getting the sugar syrup to the right temperature is key to achieving that fluffy, stable texture we’re after. Don’t rush this step!
- Combine sugar and water: In a medium saucepan, combine the granulated sugar and water. Stir gently to moisten all the sugar. We want to avoid any sugar crystals sticking to the sides of the pan, as these can cause the syrup to crystallize later on.
- Add cream of tartar: Stir in the cream of tartar. The cream of tartar helps prevent the sugar from crystallizing and gives the icing a smoother texture.
- Cook the syrup: Place the saucepan over medium heat. Bring the mixture to a boil, stirring occasionally at first to ensure the sugar dissolves completely. Once the mixture starts boiling, stop stirring. Use a clean, wet pastry brush to wash down any sugar crystals that form on the sides of the pan. This is important!
- Monitor the temperature: Clip a candy thermometer to the side of the saucepan, making sure it doesn’t touch the bottom. Continue to cook the syrup until it reaches 240°F (115°C), also known as the “soft-ball stage.” This can take anywhere from 8 to 15 minutes, depending on your stove. Keep a close eye on the thermometer!
- Remove from heat: Once the syrup reaches 240°F (115°C), immediately remove the saucepan from the heat. Be careful, the syrup is extremely hot!
Whipping the Egg Whites:
While the sugar syrup is cooking, we’ll get the egg whites ready. Room temperature egg whites whip up to a greater volume than cold egg whites, so make sure they’ve been out of the refrigerator for at least 30 minutes.
- Prepare the egg whites: In a clean, grease-free bowl of a stand mixer fitted with the whisk attachment (or in a large bowl if using a hand mixer), place the egg whites and a pinch of salt. The salt helps to stabilize the egg whites.
- Whip to soft peaks: Begin whipping the egg whites on medium speed until soft peaks form. Soft peaks are when the peaks of the egg whites droop slightly when the whisk is lifted.
Combining Syrup and Egg Whites:
This is where the magic happens! We’re going to slowly drizzle the hot sugar syrup into the whipped egg whites, creating a stable and glossy meringue.
- Slowly drizzle the syrup: With the mixer running on low speed, very slowly and carefully drizzle the hot sugar syrup into the egg whites in a thin, steady stream. Avoid pouring the syrup directly onto the whisk, as this can cause it to splatter. Aim to pour it down the side of the bowl.
- Increase speed and whip: Once all the syrup has been added, increase the mixer speed to medium-high and continue to whip the mixture until it becomes thick, glossy, and holds stiff peaks. The bowl should also feel cool to the touch. This can take anywhere from 5 to 10 minutes. Be patient!
- Add vanilla extract: Once the icing has reached stiff peaks and the bowl is cool, reduce the mixer speed to low and add the vanilla extract. Mix until just combined.
Using the Marshmallow Icing:
Now that you have your beautiful marshmallow icing, it’s time to put it to use! This icing is perfect for cupcakes, cakes, cookies, or even as a topping for brownies. It’s best used immediately, as it can start to set as it cools.
- Frost your treats: Use a spatula or piping bag to frost your cupcakes, cakes, or cookies with the marshmallow icing.
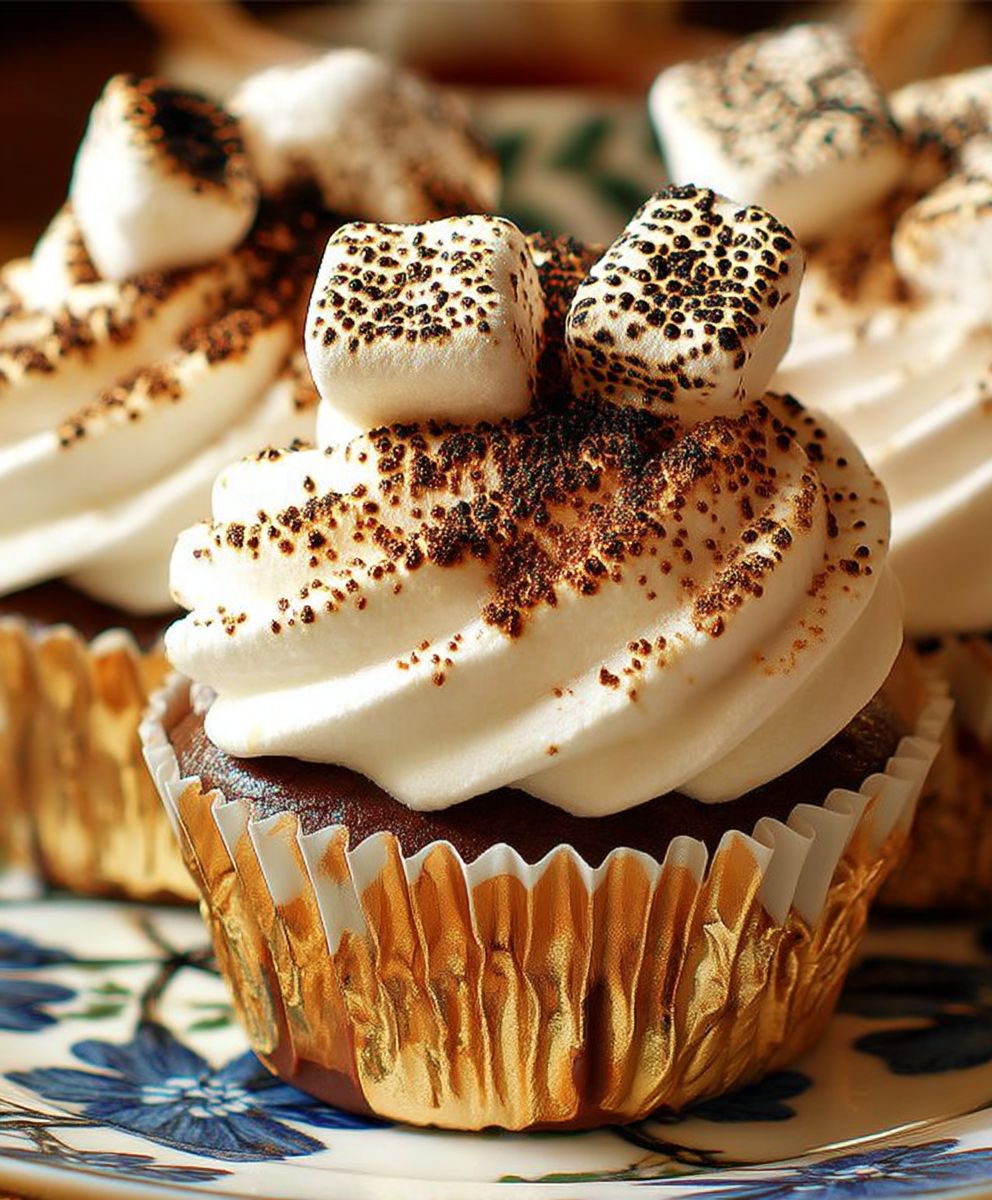
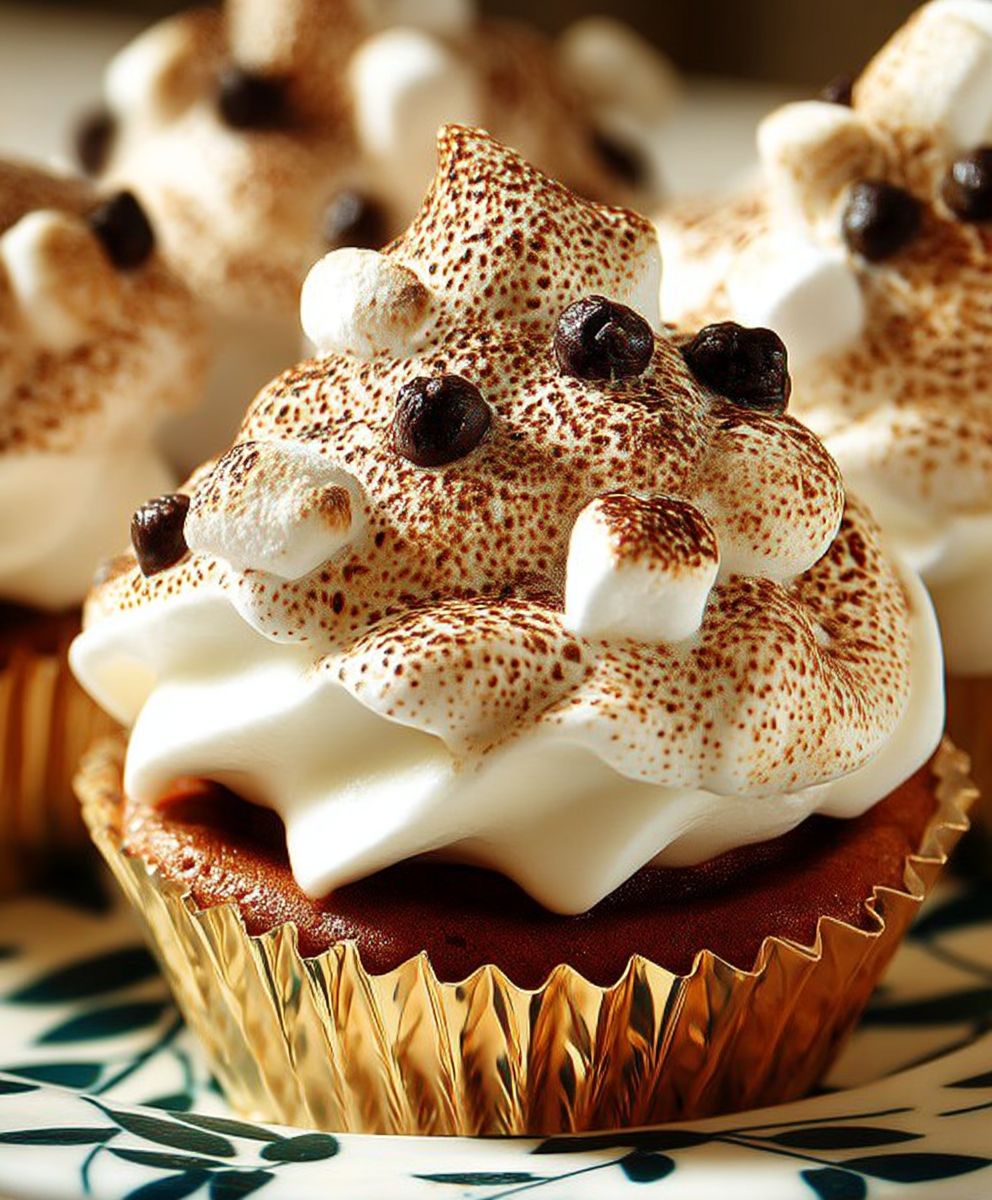
- Get creative: You can toast the icing with a kitchen torch for a toasted marshmallow effect. Be careful not to burn it!
- Enjoy! This icing is best enjoyed fresh.
Tips for Success:
- Use a candy thermometer: A candy thermometer is essential for making sure the sugar syrup reaches the correct temperature. Don’t try to guess!
- Cleanliness is key: Make sure your bowl and whisk are completely clean and grease-free. Any trace of grease can prevent the egg whites from whipping properly.
- Room temperature egg whites: Room temperature egg whites whip up to a greater volume than cold egg whites.
- Slow and steady: Drizzle the sugar syrup into the egg whites slowly and steadily to avoid cooking the egg whites.
- Don’t overmix: Once the icing has reached stiff peaks, don’t overmix it. Overmixing can cause the icing to become grainy.
Troubleshooting:
- Icing is too runny: If your icing is too runny, it’s likely that the sugar syrup didn’t reach the correct temperature or that you didn’t whip the egg whites long enough. Try whipping the icing for a few more minutes to see if it thickens up.
- Icing is grainy: If your icing is grainy, it’s likely that sugar crystals formed in the syrup. Make sure to wash down the sides of the pan with a wet pastry brush while the syrup is cooking.
- Icing is collapsing: If your icing is collapsing, it’s likely that you didn’t whip the egg whites to stiff peaks or that you added the sugar syrup too quickly.
This marshmallow icing recipe is a bit more involved than some other icing recipes, but the results are well worth the effort. The light, fluffy texture and sweet marshmallow flavor are simply irresistible. Give it a try, and I think you’ll agree!
Conclusion:
This Marshmallow Icing recipe isn’t just another frosting; it’s a cloud of sweet, fluffy perfection that will elevate your baked goods to a whole new level. Its simplicity belies its incredible flavor and texture. Seriously, if you’re looking for a way to impress, or just treat yourself to something truly special, you absolutely have to give this a try. I promise, you won’t regret it!
What makes this recipe a must-try? Well, for starters, it’s incredibly easy to make. Forget complicated techniques and finicky ingredients. This recipe uses pantry staples and comes together in minutes. Plus, the taste! It’s like biting into a perfectly toasted marshmallow, but in frosting form. The sweetness is balanced, the texture is light and airy, and it’s just utterly irresistible. It’s the kind of icing that makes you want to lick the bowl clean (and trust me, you will!).
But the best part? Its versatility! While it’s absolutely divine on cupcakes and cakes (especially chocolate!), don’t limit yourself. Imagine this Marshmallow Icing slathered on graham crackers for a quick and easy s’mores-inspired treat. Or, use it as a dip for fresh fruit strawberries and pineapple would be particularly amazing. You could even swirl it into hot chocolate for an extra decadent winter warmer.
For variations, consider adding a touch of vanilla extract for a classic flavor boost. A pinch of salt can also enhance the sweetness and create a more complex flavor profile. If you’re feeling adventurous, try incorporating a few drops of food coloring to match your cake or cupcake theme. A swirl of pink or blue would be especially fun for a birthday party! And for the adults, a splash of your favorite liqueur (think amaretto or Irish cream) would add a sophisticated twist.
Another fun variation is to toast the finished icing with a kitchen torch for a beautiful, caramelized top, just like a real marshmallow. Be careful not to burn it, though! A light golden-brown is what you’re aiming for. This adds a wonderful textural contrast and a slightly smoky flavor that’s simply divine.
I’m so excited for you to try this recipe and experience the magic of homemade Marshmallow Icing for yourself. It’s a guaranteed crowd-pleaser and a surefire way to add a touch of sweetness to any occasion.
So, what are you waiting for? Gather your ingredients, preheat your oven (if you’re baking something to frost!), and get ready to whip up a batch of this heavenly icing. I’m confident that it will become a new favorite in your kitchen.
Once you’ve tried it, I’d absolutely love to hear about your experience! Share your photos and comments on social media using [Your Social Media Hashtag Here]. Let me know what you baked it on, what variations you tried, and what your family and friends thought. I can’t wait to see your creations and hear your stories! Happy baking (and frosting)!
Marshmallow Icing: The Ultimate Guide to Fluffy Perfection
Fluffy and sweet homemade marshmallow icing, perfect for topping cupcakes, cakes, and cookies. Requires a candy thermometer and patience, but the results are worth it!
Ingredients
- 7 ounces (about 200g) granulated sugar
- 1/2 cup (120ml) water
- 1/4 teaspoon cream of tartar
- 2 large egg whites, at room temperature
- 1 teaspoon pure vanilla extract
- Pinch of salt
Instructions
- Prepare the Sugar Syrup: In a medium saucepan, combine the granulated sugar and water. Stir gently to moisten all the sugar. Add cream of tartar and stir in.
- Place the saucepan over medium heat. Bring the mixture to a boil, stirring occasionally at first to ensure the sugar dissolves completely. Once the mixture starts boiling, stop stirring. Use a clean, wet pastry brush to wash down any sugar crystals that form on the sides of the pan.
- Clip a candy thermometer to the side of the saucepan, making sure it doesn’t touch the bottom. Continue to cook the syrup until it reaches 240°F (115°C), also known as the “soft-ball stage.”
- Once the syrup reaches 240°F (115°C), immediately remove the saucepan from the heat.
- Whip the Egg Whites: In a clean, grease-free bowl of a stand mixer fitted with the whisk attachment (or in a large bowl if using a hand mixer), place the egg whites and a pinch of salt.
- Begin whipping the egg whites on medium speed until soft peaks form. Soft peaks are when the peaks of the egg whites droop slightly when the whisk is lifted.
- Combine Syrup and Egg Whites: With the mixer running on low speed, very slowly and carefully drizzle the hot sugar syrup into the egg whites in a thin, steady stream. Avoid pouring the syrup directly onto the whisk, as this can cause it to splatter. Aim to pour it down the side of the bowl.
- Once all the syrup has been added, increase the mixer speed to medium-high and continue to whip the mixture until it becomes thick, glossy, and holds stiff peaks. The bowl should also feel cool to the touch. This can take anywhere from 5 to 10 minutes.
- Once the icing has reached stiff peaks and the bowl is cool, reduce the mixer speed to low and add the vanilla extract. Mix until just combined.
- Frost your treats: Use a spatula or piping bag to frost your cupcakes, cakes, or cookies with the marshmallow icing.
- Get creative: You can toast the icing with a kitchen torch for a toasted marshmallow effect. Be careful not to burn it!
- Enjoy! This icing is best enjoyed fresh.
Notes
- A candy thermometer is essential for making sure the sugar syrup reaches the correct temperature.
- Make sure your bowl and whisk are completely clean and grease-free.
- Room temperature egg whites whip up to a greater volume than cold egg whites.
- Drizzle the sugar syrup into the egg whites slowly and steadily to avoid cooking the egg whites.
- Once the icing has reached stiff peaks, don’t overmix it.



Leave a Comment