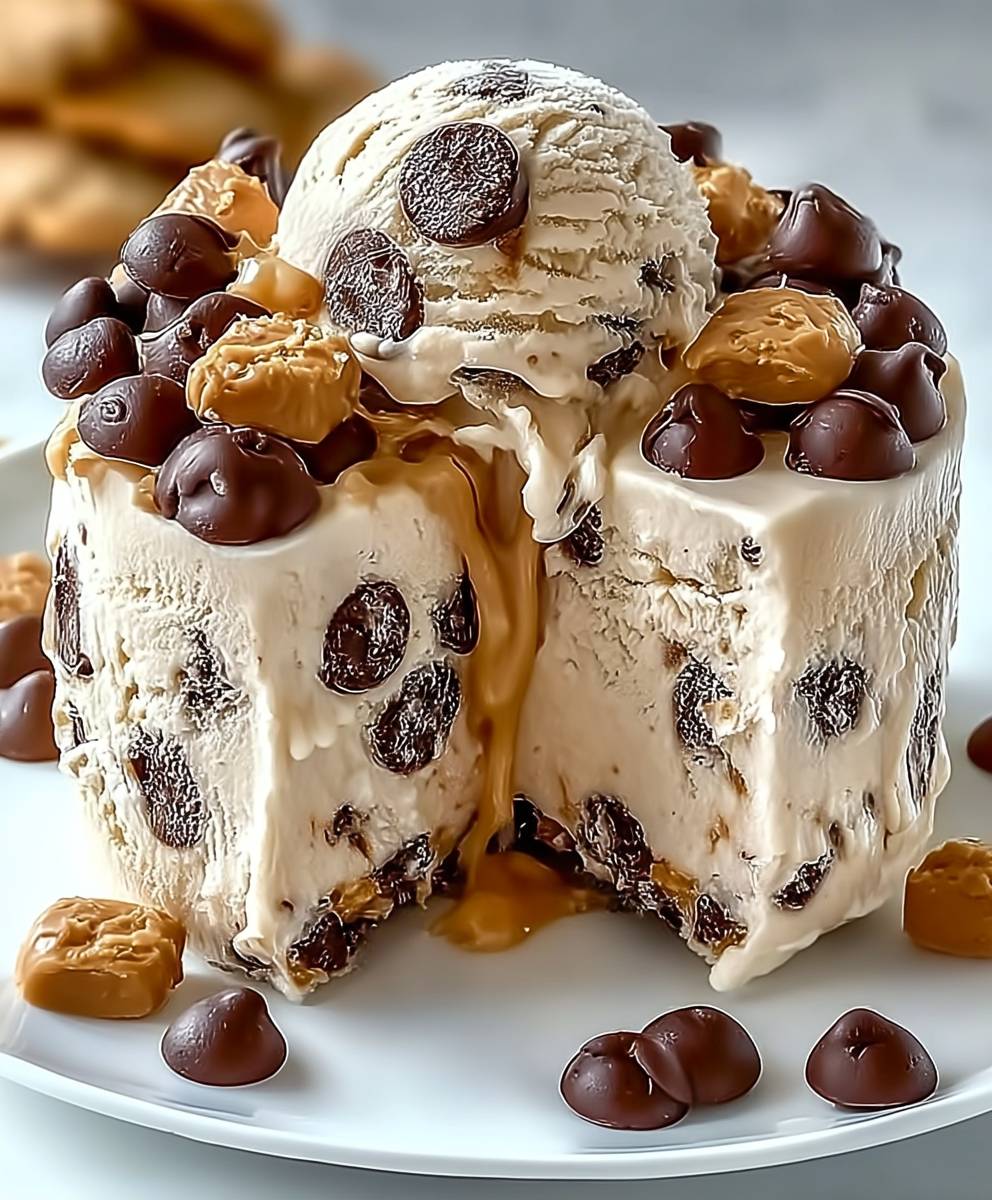
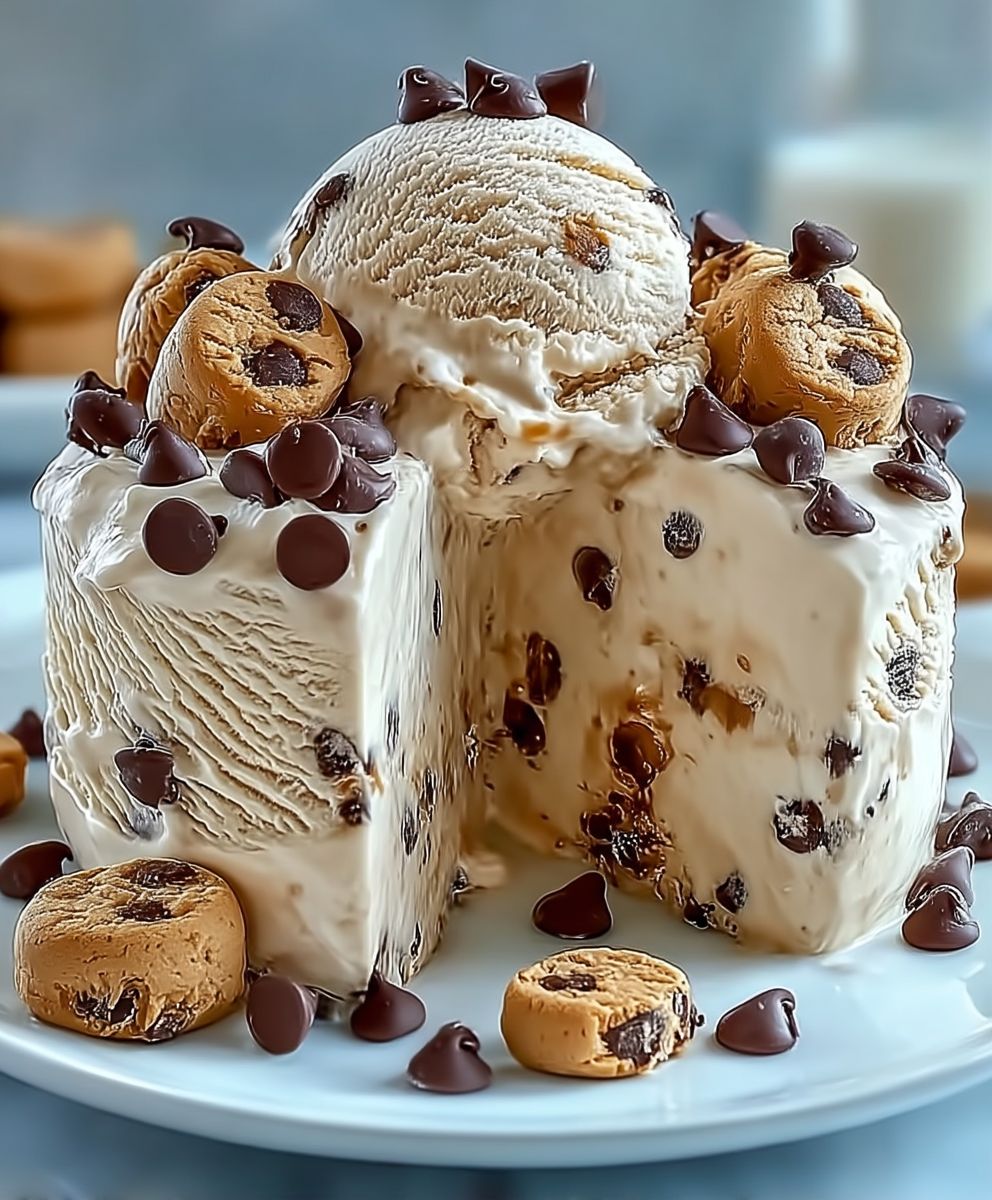
Cookie Dough Ice Cream: who can resist the siren song of creamy, vanilla-infused ice cream studded with chunks of soft, chewy cookie dough? I know I certainly can’t! This isn’t just dessert; it’s a nostalgic trip back to childhood, sneaking bites of raw cookie dough while Mom wasn’t looking (though, let’s be honest, we still do it sometimes!).
While the exact origins of adding cookie dough to ice cream are shrouded in delicious mystery, it’s widely believed that Ben & Jerry’s was the first to commercially introduce this iconic flavor in the 1980s. Legend has it that an anonymous suggestion at their Burlington, Vermont, scoop shop sparked the idea, and the rest, as they say, is sweet history. Since then, cookie dough ice cream has become a global phenomenon, a testament to the simple pleasure of combining two beloved treats.
What makes this dessert so irresistible? It’s the delightful contrast of textures the smooth, cold ice cream against the soft, slightly gritty cookie dough. The vanilla base provides a blank canvas for the rich, buttery, and slightly salty cookie dough to truly shine. Plus, let’s face it, it’s pure comfort food. Whether you’re celebrating a victory or seeking solace after a long day, a scoop (or two!) of this classic treat is guaranteed to bring a smile to your face. So, let’s dive into making our own version of this timeless favorite!
Ingredients:
- For the Cookie Dough:
- 1 cup (2 sticks) unsalted butter, softened
- ¾ cup granulated sugar
- ¾ cup packed light brown sugar
- 2 teaspoons pure vanilla extract
- 2 ¼ cups all-purpose flour
- 1 teaspoon baking powder
- 1 teaspoon salt
- 1 cup mini semi-sweet chocolate chips
- For the Ice Cream Base:
- 2 cups heavy cream
- 1 cup whole milk
- ¾ cup granulated sugar
- ? teaspoon salt
- 1 teaspoon pure vanilla extract
Making the Cookie Dough:
- Cream the Butter and Sugars: In a large bowl, or the bowl of your stand mixer fitted with the paddle attachment, cream together the softened butter, granulated sugar, and brown sugar until light and fluffy. This usually takes about 3-5 minutes. Make sure to scrape down the sides of the bowl occasionally to ensure everything is evenly mixed.
- Add Vanilla: Beat in the vanilla extract until well combined. The mixture should be smooth and fragrant.
- Combine Dry Ingredients: In a separate medium bowl, whisk together the all-purpose flour, baking powder, and salt. This ensures that the baking powder and salt are evenly distributed throughout the flour, which is crucial for the texture of the cookie dough.
- Gradually Add Dry Ingredients to Wet Ingredients: Gradually add the dry ingredients to the wet ingredients, mixing on low speed until just combined. Be careful not to overmix, as this can result in tough cookie dough. Overmixing develops the gluten in the flour, which we want to avoid for this application.
- Stir in Chocolate Chips: Gently fold in the mini semi-sweet chocolate chips until they are evenly distributed throughout the cookie dough.
- Chill the Cookie Dough: This is a crucial step! Wrap the cookie dough tightly in plastic wrap and chill it in the refrigerator for at least 30 minutes, or even better, for an hour. Chilling the dough helps to prevent it from spreading too much in the ice cream and also makes it easier to handle.
- Cut into Small Pieces: Once chilled, remove the cookie dough from the refrigerator and cut it into small, bite-sized pieces. I like to roll the dough into small balls, about ¼ to ½ inch in diameter. These smaller pieces will be perfect for mixing into the ice cream.
- Freeze the Cookie Dough Pieces: Spread the cookie dough pieces out on a baking sheet lined with parchment paper and freeze them for at least 30 minutes. This will prevent them from sticking together when you add them to the ice cream. Freezing them separately also helps them maintain their shape and texture in the ice cream.
Making the Ice Cream Base:
- Combine Ingredients: In a medium saucepan, combine the heavy cream, whole milk, granulated sugar, and salt.
- Heat and Dissolve Sugar: Heat the mixture over medium heat, stirring constantly, until the sugar is completely dissolved. Do not let the mixture boil. You just want it to be warm enough for the sugar to dissolve.
- Remove from Heat and Add Vanilla: Remove the saucepan from the heat and stir in the vanilla extract.
- Chill the Ice Cream Base: Pour the ice cream base into a container with a lid and chill it in the refrigerator for at least 4 hours, or preferably overnight. This allows the flavors to meld together and the base to cool completely, which is essential for proper freezing.
Churning and Assembling the Ice Cream:
- Churn the Ice Cream: Pour the chilled ice cream base into your ice cream maker and churn according to the manufacturer’s instructions. This usually takes about 20-25 minutes, or until the ice cream reaches a soft-serve consistency.
- Add the Cookie Dough: During the last 5 minutes of churning, gradually add the frozen cookie dough pieces to the ice cream maker. This will allow the cookie dough to be evenly distributed throughout the ice cream without breaking down too much.
- Transfer to a Container: Once the ice cream is churned and the cookie dough is incorporated, transfer the ice cream to a freezer-safe container. I like to use a loaf pan or a plastic container with a tight-fitting lid.
- Harden in the Freezer: Place the container in the freezer and let the ice cream harden for at least 2-3 hours, or preferably overnight. This will allow the ice cream to reach a scoopable consistency.
- Serve and Enjoy: Once the ice cream is hardened, scoop it into bowls and enjoy! You can add extra chocolate chips or a drizzle of chocolate sauce for an extra special treat.
Tips for Success:
- Use High-Quality Ingredients: The better the quality of your ingredients, the better your ice cream will taste. Use good quality butter, vanilla extract, and chocolate chips.
- Don’t Overmix the Cookie Dough: Overmixing the cookie dough will result in tough cookie dough. Mix the dry ingredients into the wet ingredients until just combined.
- Chill the Cookie Dough and Ice Cream Base: Chilling the cookie dough and ice cream base is crucial for the texture and consistency of the ice cream.
- Freeze the Cookie Dough Pieces Separately: Freezing the cookie dough pieces separately will prevent them from sticking together when you add them to the ice cream.
- Don’t Overchurn the Ice Cream: Overchurning the ice cream will result in a grainy texture. Churn the ice cream until it reaches a soft-serve consistency.
- Harden the Ice Cream Completely: Hardening the ice cream completely in the freezer will allow it to reach a scoopable consistency.
Variations:
- Add Nuts: Add chopped nuts, such as walnuts or pecans, to the cookie dough or the ice cream base.
- Use Different Chocolate Chips: Use different types of chocolate chips, such as dark chocolate chips or white chocolate chips.
- Add a Swirl: Add a swirl of caramel sauce or fudge sauce to the ice cream.
- Make it Vegan: Use vegan butter, plant-based milk, and vegan chocolate chips to make this recipe vegan.

Conclusion:
So, there you have it! This isn’t just another ice cream recipe; it’s a ticket to pure, unadulterated joy. The creamy, vanilla-infused base, studded with chunks of that irresistible, slightly salty, and perfectly sweet cookie dough, creates a symphony of textures and flavors that will have you reaching for a second (and maybe even a third!) scoop. Trust me, once you taste this homemade goodness, you’ll never look at store-bought ice cream the same way again.
Why is this a must-try? Because it’s ridiculously easy to make, requires no fancy equipment (an ice cream maker is helpful, but not essential!), and delivers a flavor explosion that will tantalize your taste buds. It’s the perfect treat for a hot summer day, a cozy night in, or any occasion that calls for a little bit of indulgence. Plus, who can resist the allure of edible cookie dough? It’s a childhood dream come true, elevated to gourmet status.
But the fun doesn’t stop there! This recipe is incredibly versatile, offering endless possibilities for customization. Feeling adventurous? Try adding a swirl of hot fudge, a sprinkle of chopped nuts, or a handful of mini chocolate chips. For a more decadent experience, consider layering it with brownies or cookies in a parfait. And if you’re looking for a lighter option, you can substitute the heavy cream with a combination of milk and Greek yogurt for a tangy twist.
Here are a few serving suggestions to get you started:
- Classic Scoop: Served in a waffle cone or a simple bowl, this ice cream shines on its own.
- Ice Cream Sundae: Top with whipped cream, chocolate sauce, sprinkles, and a cherry for the ultimate sundae experience.
- Milkshake Magic: Blend with milk for a creamy and delicious milkshake that’s perfect for a quick treat.
- Ice Cream Sandwich: Sandwich between two chocolate chip cookies for a delightful ice cream sandwich.
- Affogato Al Fresco: Pour a shot of hot espresso over a scoop for an Italian-inspired dessert.
Don’t be afraid to experiment and get creative! The beauty of homemade ice cream is that you can tailor it to your exact preferences. Add your favorite candies, fruits, or spices to create a truly unique and personalized dessert.
I’m confident that this cookie dough ice cream will become a new family favorite. It’s a recipe that’s guaranteed to bring smiles and create lasting memories. So, gather your ingredients, put on your apron, and get ready to embark on a culinary adventure.
I truly believe that everyone should experience the joy of making their own ice cream, especially when it’s as easy and rewarding as this recipe. The satisfaction of creating something delicious from scratch is unparalleled, and the taste of homemade ice cream is simply divine.
Now, it’s your turn! I encourage you to try this recipe and share your experience with me. Let me know what variations you tried, what toppings you added, and how much you loved it. Did you make it for a special occasion? Did you share it with friends and family? I’m eager to hear all about your ice cream adventures!
You can leave a comment below, tag me on social media, or send me an email. I’m always happy to connect with fellow food lovers and share in the joy of cooking and baking. So, go ahead, give this recipe a try, and let’s spread the love of homemade cookie dough ice cream far and wide! Happy scooping!
Cookie Dough Ice Cream: The Ultimate Guide to This Delicious Treat
Homemade cookie dough ice cream with chunks of delicious, buttery chocolate chip cookie dough swirled into a creamy vanilla ice cream base.
Ingredients
- 1 cup (2 sticks) unsalted butter, softened
- ¾ cup granulated sugar
- ¾ cup packed light brown sugar
- 2 teaspoons pure vanilla extract
- 2 ¼ cups all-purpose flour
- 1 teaspoon baking powder
- 1 teaspoon salt
- 1 cup mini semi-sweet chocolate chips
- 2 cups heavy cream
- 1 cup whole milk
- ¾ cup granulated sugar
- ? teaspoon salt
- 1 teaspoon pure vanilla extract
Instructions
- Cream the Butter and Sugars: In a large bowl, or the bowl of your stand mixer fitted with the paddle attachment, cream together the softened butter, granulated sugar, and brown sugar until light and fluffy (3-5 minutes). Scrape down the sides of the bowl occasionally.
- Add Vanilla: Beat in the vanilla extract until well combined.
- Combine Dry Ingredients: In a separate medium bowl, whisk together the all-purpose flour, baking powder, and salt.
- Gradually Add Dry Ingredients to Wet Ingredients: Gradually add the dry ingredients to the wet ingredients, mixing on low speed until just combined. Be careful not to overmix.
- Stir in Chocolate Chips: Gently fold in the mini semi-sweet chocolate chips until they are evenly distributed.
- Chill the Cookie Dough: Wrap the cookie dough tightly in plastic wrap and chill in the refrigerator for at least 30 minutes (or up to an hour).
- Cut into Small Pieces: Once chilled, remove the cookie dough from the refrigerator and cut it into small, bite-sized pieces (¼ to ½ inch in diameter).
- Freeze the Cookie Dough Pieces: Spread the cookie dough pieces out on a baking sheet lined with parchment paper and freeze them for at least 30 minutes.
- Combine Ingredients: In a medium saucepan, combine the heavy cream, whole milk, granulated sugar, and salt.
- Heat and Dissolve Sugar: Heat the mixture over medium heat, stirring constantly, until the sugar is completely dissolved. Do not let the mixture boil.
- Remove from Heat and Add Vanilla: Remove the saucepan from the heat and stir in the vanilla extract.
- Chill the Ice Cream Base: Pour the ice cream base into a container with a lid and chill it in the refrigerator for at least 4 hours, or preferably overnight.
- Churn the Ice Cream: Pour the chilled ice cream base into your ice cream maker and churn according to the manufacturer’s instructions (20-25 minutes, or until soft-serve consistency).
- Add the Cookie Dough: During the last 5 minutes of churning, gradually add the frozen cookie dough pieces to the ice cream maker.
- Transfer to a Container: Once the ice cream is churned and the cookie dough is incorporated, transfer the ice cream to a freezer-safe container.
- Harden in the Freezer: Place the container in the freezer and let the ice cream harden for at least 2-3 hours, or preferably overnight.
- Serve and Enjoy: Once the ice cream is hardened, scoop it into bowls and enjoy!
Notes
- Use High-Quality Ingredients: The better the quality of your ingredients, the better your ice cream will taste.
- Don’t Overmix the Cookie Dough: Overmixing the cookie dough will result in tough cookie dough.
- Chill the Cookie Dough and Ice Cream Base: Chilling the cookie dough and ice cream base is crucial for the texture and consistency of the ice cream.
- Freeze the Cookie Dough Pieces Separately: Freezing the cookie dough pieces separately will prevent them from sticking together when you add them to the ice cream.
- Don’t Overchurn the Ice Cream: Overchurning the ice cream will result in a grainy texture.
- Harden the Ice Cream Completely: Hardening the ice cream completely in the freezer will allow it to reach a scoopable consistency.
- Variations:
- Add chopped nuts, such as walnuts or pecans, to the cookie dough or the ice cream base.
- Use different types of chocolate chips, such as dark chocolate chips or white chocolate chips.
- Add a swirl of caramel sauce or fudge sauce to the ice cream.
- Make it Vegan: Use vegan butter, plant-based milk, and vegan chocolate chips to make this recipe vegan.


Leave a Comment