Chocolate Mousse Cake, oh, where do I even begin? Imagine sinking your fork into a dessert so decadent, so intensely chocolatey, that it momentarily transports you to a Parisian patisserie. This isn’t just cake; it’s an experience, a symphony of textures and flavors that dance on your palate. I’m thrilled to share my foolproof recipe for this show-stopping dessert that’s surprisingly easy to make at home.
While the exact origins of chocolate mousse are debated, its roots are firmly planted in French culinary history. By the 18th century, chocolate was becoming increasingly popular in Europe, and innovative chefs began experimenting with ways to incorporate it into desserts. The mousse, with its airy and light texture, quickly became a favorite. Combining it with cake elevates it to a whole new level of indulgence.
People adore Chocolate Mousse Cake for its irresistible combination of rich, moist cake and the ethereal lightness of the mousse. The contrast between the textures is simply divine. Plus, while it looks incredibly impressive, this recipe is designed to be straightforward, even for beginner bakers. The intense chocolate flavor, the melt-in-your-mouth texture, and the sheer elegance of this dessert make it perfect for special occasions or simply when you need a little chocolate therapy. Get ready to impress your friends and family with this unforgettable treat!
Ingredients:
- For the Chocolate Cake:
- 2 cups all-purpose flour
- 2 cups granulated sugar
- ¾ cup unsweetened cocoa powder
- 1 ½ teaspoons baking powder
- 1 ½ teaspoons baking soda
- 1 teaspoon salt
- 1 cup buttermilk
- ½ cup vegetable oil
- 2 large eggs
- 2 teaspoons vanilla extract
- 1 cup boiling water
- For the Chocolate Mousse:
- 12 ounces semi-sweet chocolate, chopped
- 6 large eggs, separated
- ¼ cup granulated sugar
- 1 ½ cups heavy cream
- 1 teaspoon vanilla extract
- Pinch of salt
- For the Chocolate Ganache:
- 8 ounces semi-sweet chocolate, chopped
- 1 cup heavy cream
- 2 tablespoons unsalted butter, softened
- Optional Garnishes:
- Chocolate shavings
- Fresh berries (raspberries, strawberries)
- Cocoa powder
Preparing the Chocolate Cake:
- Preheat and Prep: First things first, preheat your oven to 350°F (175°C). Grease and flour two 9-inch round cake pans. I like to use parchment paper rounds on the bottom of the pans for extra insurance against sticking. Trust me, it’s worth the effort!
- Combine Dry Ingredients: In a large bowl, whisk together the flour, sugar, cocoa powder, baking powder, baking soda, and salt. Make sure everything is evenly distributed. This step is crucial for a consistent cake texture.
- Combine Wet Ingredients: In a separate bowl, whisk together the buttermilk, oil, eggs, and vanilla extract. Don’t worry if it looks a little curdled that’s perfectly normal.
- Combine Wet and Dry: Gradually add the wet ingredients to the dry ingredients, mixing on low speed until just combined. Be careful not to overmix! Overmixing can lead to a tough cake.
- Add Boiling Water: Slowly pour in the boiling water while mixing on low speed. The batter will be very thin don’t be alarmed! This is what gives the cake its moistness.
- Divide and Bake: Divide the batter evenly between the prepared cake pans. Bake for 30-35 minutes, or until a toothpick inserted into the center comes out clean. Keep a close eye on them, as baking times can vary depending on your oven.
- Cool Completely: Let the cakes cool in the pans for 10 minutes before inverting them onto a wire rack to cool completely. This prevents them from sticking and allows them to cool evenly. Make sure they are completely cool before frosting!
Making the Chocolate Mousse:
- Melt the Chocolate: Place the chopped chocolate in a heatproof bowl set over a saucepan of simmering water (double boiler). Make sure the bottom of the bowl doesn’t touch the water. Stir occasionally until the chocolate is completely melted and smooth. Remove from heat and let it cool slightly.
- Separate Eggs: Carefully separate the eggs, placing the yolks in one bowl and the whites in another. It’s important to avoid getting any yolk in the whites, as this can prevent them from whipping properly.
- Whisk Egg Yolks and Sugar: In the bowl with the egg yolks, add the sugar and whisk until the mixture is pale yellow and slightly thickened. This usually takes about 2-3 minutes.
- Temper the Egg Yolks: Slowly drizzle a small amount of the melted chocolate into the egg yolk mixture while whisking constantly. This is called tempering and prevents the egg yolks from scrambling when you add them to the hot chocolate. Continue adding the chocolate in a slow, steady stream until it’s all incorporated.
- Whip Egg Whites: In a clean, dry bowl, beat the egg whites with a pinch of salt until stiff peaks form. This is best done with an electric mixer. Be careful not to overwhip, as this can make the mousse grainy.
- Whip Heavy Cream: In another clean bowl, whip the heavy cream until stiff peaks form. Again, be careful not to overwhip.
- Fold in Egg Whites: Gently fold one-third of the whipped egg whites into the chocolate mixture to lighten it. Then, gently fold in the remaining egg whites until just combined. Be careful not to deflate the egg whites.
- Fold in Whipped Cream: Gently fold the whipped cream into the chocolate mixture until just combined. Again, be careful not to deflate the whipped cream. The mousse should be light and airy.
- Chill: Cover the mousse with plastic wrap and refrigerate for at least 4 hours, or preferably overnight, to allow it to set properly. This is a crucial step for achieving the right consistency.
Preparing the Chocolate Ganache:
- Heat the Cream: Place the heavy cream in a saucepan and heat over medium heat until it just begins to simmer. Do not boil!
- Pour over Chocolate: Pour the hot cream over the chopped chocolate in a heatproof bowl. Let it sit for a minute or two to allow the heat to melt the chocolate.
- Stir Until Smooth: Gently stir the mixture until the chocolate is completely melted and the ganache is smooth and glossy.
- Add Butter: Stir in the softened butter until it is fully incorporated. This will give the ganache a richer flavor and a smoother texture.
- Cool Slightly: Let the ganache cool slightly before pouring it over the cake. This will help it to thicken and set properly.
Assembling the Chocolate Mousse Cake:
- Level the Cakes: If the cakes have domed on top, use a serrated knife to level them. This will ensure that the cake is even and stable.
- Place First Layer: Place one cake layer on a serving plate or cake stand.
- Spread Mousse: Spread half of the chocolate mousse evenly over the first cake layer.
- Add Second Layer: Carefully place the second cake layer on top of the mousse.
- Spread Remaining Mousse: Spread the remaining chocolate mousse evenly over the second cake layer.
- Chill: Refrigerate the cake for at least 30 minutes to allow the mousse to set slightly before adding the ganache. This will prevent the ganache from sliding off the cake.
- Pour Ganache: Pour the cooled chocolate ganache over the top of the cake, allowing it to drip down the sides. You can use an offset spatula to spread the ganache evenly.
- Garnish (Optional): Decorate the cake with chocolate shavings, fresh berries, or a dusting of cocoa powder. Get creative and have fun with it!
- Chill Again: Refrigerate the cake for at least 1 hour to allow the ganache to set completely.
- Serve and Enjoy: Slice and serve the Chocolate Mousse Cake. Enjoy every decadent bite! This cake is best served chilled.
Conclusion:
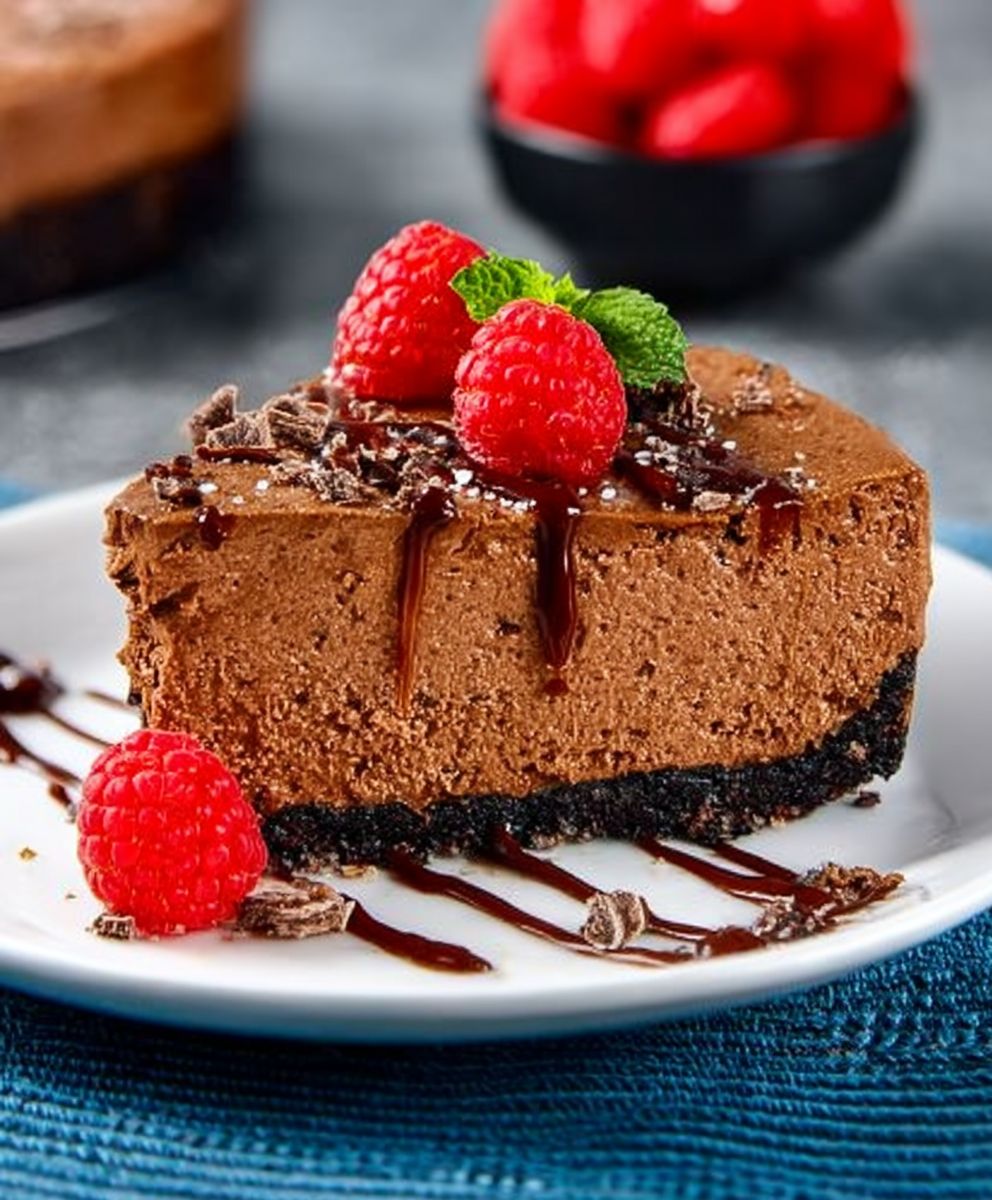
And there you have it! This Chocolate Mousse Cake isn’t just a dessert; it’s an experience. From the rich, decadent chocolate layers to the airy, melt-in-your-mouth mousse, every bite is a symphony of textures and flavors that will leave you craving more. I truly believe this is a must-try recipe for any chocolate lover, whether you’re a seasoned baker or just starting out. The steps are straightforward, and the reward is absolutely worth the effort.
Why is this cake a must-try? Because it’s more than just a cake. It’s a showstopper, a conversation starter, and a guaranteed crowd-pleaser. Imagine presenting this masterpiece at your next dinner party or family gathering. The gasps of admiration and the delighted faces as everyone takes their first bite will be all the validation you need. It’s the perfect balance of indulgence and elegance, making it suitable for any occasion, from a casual weeknight treat to a sophisticated celebration.
But the best part? You can easily customize it to your liking! Feeling adventurous? Try adding a layer of raspberry jam between the cake and the mousse for a burst of fruity tartness that complements the chocolate beautifully. Or, for a more intense chocolate experience, incorporate some finely chopped dark chocolate into the mousse itself. You could even experiment with different liqueurs, such as coffee liqueur or orange liqueur, to infuse the cake with a unique flavor profile.
For serving suggestions, I recommend pairing a slice of this decadent Chocolate Mousse Cake with a scoop of vanilla ice cream or a dollop of whipped cream. A sprinkle of cocoa powder or a few fresh berries on top adds a touch of visual appeal and enhances the overall flavor. And don’t forget a cup of strong coffee or a glass of dessert wine to complete the experience. It’s the perfect ending to any meal.
Don’t be intimidated by the multiple layers; I promise it’s easier than it looks! Just follow the instructions carefully, and you’ll be amazed at what you can create. Remember to take your time, enjoy the process, and don’t be afraid to experiment. Baking should be fun, and this recipe is designed to be both rewarding and enjoyable.
I’m so excited for you to try this recipe and experience the magic of this Chocolate Mousse Cake for yourself. I truly believe it will become a new favorite in your household.
So, what are you waiting for? Gather your ingredients, preheat your oven, and get ready to bake! And most importantly, don’t forget to share your creations with me! I would absolutely love to see your photos and hear about your experiences. Tag me on social media or leave a comment below. I can’t wait to see your beautiful cakes and hear all about your variations and serving suggestions. Happy baking! Let me know if you have any questions along the way, I’m here to help!
Chocolate Mousse Cake: The Ultimate Decadent Dessert
Decadent chocolate cake layered with light and airy chocolate mousse, topped with a rich chocolate ganache. A chocolate lover's dream!
Ingredients
- 2 cups all-purpose flour
- 2 cups granulated sugar
- ¾ cup unsweetened cocoa powder
- 1 ½ teaspoons baking powder
- 1 ½ teaspoons baking soda
- 1 teaspoon salt
- 1 cup buttermilk
- ½ cup vegetable oil
- 2 large eggs
- 2 teaspoons vanilla extract
- 1 cup boiling water
- 12 ounces semi-sweet chocolate, chopped
- 6 large eggs, separated
- ¼ cup granulated sugar
- 1 ½ cups heavy cream
- 1 teaspoon vanilla extract
- Pinch of salt
- 8 ounces semi-sweet chocolate, chopped
- 1 cup heavy cream
- 2 tablespoons unsalted butter, softened
- Chocolate shavings
- Fresh berries (raspberries, strawberries)
- Cocoa powder
Instructions
- Preheat oven to 350°F (175°C). Grease and flour two 9-inch round cake pans. Line the bottoms with parchment paper rounds.
- In a large bowl, whisk together flour, sugar, cocoa powder, baking powder, baking soda, and salt.
- In a separate bowl, whisk together buttermilk, oil, eggs, and vanilla extract.
- Gradually add the wet ingredients to the dry ingredients, mixing on low speed until just combined. Do not overmix.
- Slowly pour in the boiling water while mixing on low speed. The batter will be thin.
- Divide the batter evenly between the prepared cake pans. Bake for 30-35 minutes, or until a toothpick inserted into the center comes out clean.
- Let the cakes cool in the pans for 10 minutes before inverting them onto a wire rack to cool completely.
- Place the chopped chocolate in a heatproof bowl set over a saucepan of simmering water (double boiler). Stir until melted and smooth. Remove from heat and let cool slightly.
- Carefully separate the eggs, placing the yolks in one bowl and the whites in another.
- In the bowl with the egg yolks, add the sugar and whisk until the mixture is pale yellow and slightly thickened.
- Slowly drizzle a small amount of the melted chocolate into the egg yolk mixture while whisking constantly. Continue adding the chocolate in a slow, steady stream until it’s all incorporated.
- In a clean, dry bowl, beat the egg whites with a pinch of salt until stiff peaks form.
- In another clean bowl, whip the heavy cream until stiff peaks form.
- Gently fold one-third of the whipped egg whites into the chocolate mixture to lighten it. Then, gently fold in the remaining egg whites until just combined.
- Gently fold the whipped cream into the chocolate mixture until just combined.
- Cover the mousse with plastic wrap and refrigerate for at least 4 hours, or preferably overnight, to allow it to set properly.
- Place the heavy cream in a saucepan and heat over medium heat until it just begins to simmer. Do not boil!
- Pour the hot cream over the chopped chocolate in a heatproof bowl. Let it sit for a minute or two to allow the heat to melt the chocolate.
- Gently stir the mixture until the chocolate is completely melted and the ganache is smooth and glossy.
- Stir in the softened butter until it is fully incorporated.
- Let the ganache cool slightly before pouring it over the cake.
- If the cakes have domed on top, use a serrated knife to level them.
- Place one cake layer on a serving plate or cake stand.
- Spread half of the chocolate mousse evenly over the first cake layer.
- Carefully place the second cake layer on top of the mousse.
- Spread the remaining chocolate mousse evenly over the second cake layer.
- Refrigerate the cake for at least 30 minutes to allow the mousse to set slightly before adding the ganache.
- Pour the cooled chocolate ganache over the top of the cake, allowing it to drip down the sides. You can use an offset spatula to spread the ganache evenly.
- Decorate the cake with chocolate shavings, fresh berries, or a dusting of cocoa powder.
- Refrigerate the cake for at least 1 hour to allow the ganache to set completely.
- Slice and serve the Chocolate Mousse Cake.
Notes
- For best results, use high-quality chocolate.
- Make sure all ingredients are at room temperature unless otherwise specified.
- Don’t overmix the cake batter, as this can result in a tough cake.
- Be careful not to overwhip the egg whites or heavy cream, as this can make the mousse grainy.
- Chilling the mousse and cake is essential for achieving the right consistency.
- The cake can be made a day ahead of time and stored in the refrigerator.
- Get creative with your garnishes!



Leave a Comment