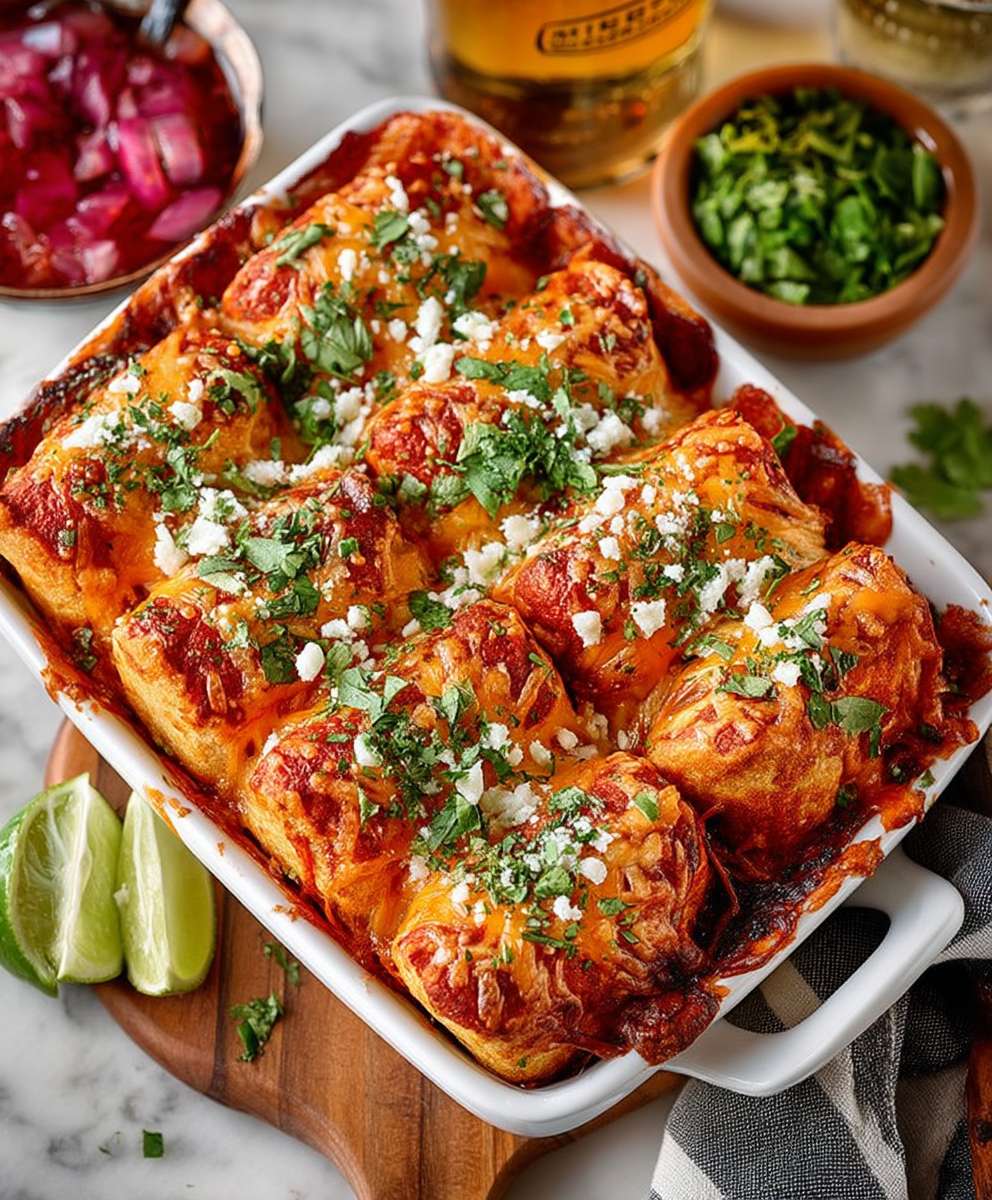
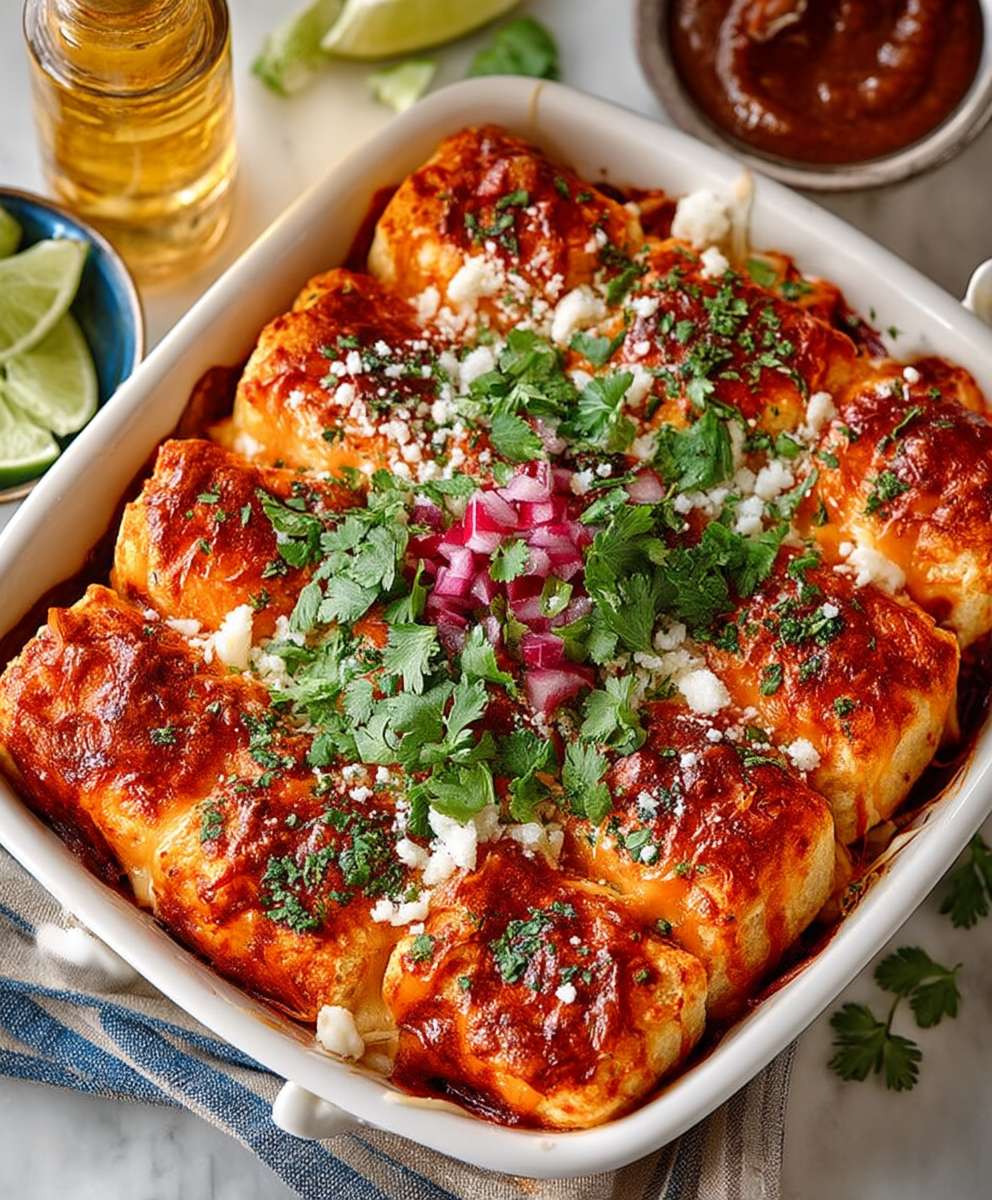
Cheese Garlic Biscuits: Prepare to be amazed by these warm, savory delights that are incredibly easy to make and even easier to devour! Imagine sinking your teeth into a fluffy, golden biscuit, bursting with the sharp, comforting flavor of cheddar cheese and the pungent aroma of garlic. These aren’t just biscuits; they’re an experience.
Biscuits, in general, have a long and storied history in American cuisine, evolving from simple hardtack to the soft, buttery treats we know and love today. The addition of cheese and garlic elevates the humble biscuit to a whole new level of deliciousness. While the exact origins of cheese garlic biscuits are a bit hazy, their popularity is undeniable. They’ve become a staple in restaurants and home kitchens alike, offering a comforting and satisfying side dish or snack.
What makes these biscuits so irresistible? It’s the perfect combination of textures and flavors. The soft, crumbly interior contrasts beautifully with the slightly crisp exterior. The cheese adds a rich, savory depth, while the garlic provides a delightful zing that awakens the taste buds. Plus, they’re incredibly convenient to make! With just a few simple ingredients and minimal effort, you can have a batch of warm, cheesy, garlicky goodness ready in under 30 minutes. I promise, once you try this recipe for cheese garlic biscuits, you’ll be making them again and again!
Ingredients:
- 2 cups all-purpose flour, plus more for dusting
- 1 tablespoon baking powder
- 1/2 teaspoon baking soda
- 1 teaspoon salt
- 1/2 teaspoon garlic powder
- 1/4 teaspoon black pepper
- 1/2 cup (1 stick) cold unsalted butter, cut into small cubes
- 1 cup buttermilk, cold
- 1 cup shredded cheddar cheese
- 1/4 cup grated Parmesan cheese
- 2 tablespoons melted butter
- 1 tablespoon minced fresh parsley
- 1 teaspoon minced garlic
Preparing the Biscuit Dough
Okay, let’s get started! Making these cheesy garlic biscuits is easier than you might think. The key is to keep everything cold, which helps create those lovely flaky layers we all crave.
- Combine the Dry Ingredients: In a large bowl, whisk together the 2 cups of all-purpose flour, 1 tablespoon of baking powder, 1/2 teaspoon of baking soda, 1 teaspoon of salt, 1/2 teaspoon of garlic powder, and 1/4 teaspoon of black pepper. Make sure everything is well combined so the leavening agents are evenly distributed. This ensures a consistent rise and texture.
- Cut in the Cold Butter: Add the 1/2 cup (1 stick) of cold, cubed unsalted butter to the flour mixture. This is where the magic happens! Use a pastry blender or your fingertips to cut the butter into the flour. You want to work quickly so the butter stays cold. The mixture should resemble coarse crumbs with some pea-sized pieces of butter remaining. These little butter pockets will melt during baking, creating steam and those beautiful flaky layers. If you don’t have a pastry blender, you can use two knives to cut the butter in a criss-cross motion.
- Add the Cheese: Now, stir in the 1 cup of shredded cheddar cheese and 1/4 cup of grated Parmesan cheese. Gently toss to combine, making sure the cheese is evenly distributed throughout the flour mixture. The cheese adds a wonderful flavor and helps to create a slightly crispy exterior.
- Incorporate the Buttermilk: Pour in the 1 cup of cold buttermilk. Gently stir with a fork or spatula until just combined. Be careful not to overmix! Overmixing will develop the gluten in the flour, resulting in tough biscuits. The dough will be shaggy and slightly sticky, and that’s perfectly fine. It’s better to have a slightly under-mixed dough than an over-mixed one.
- Turn Out and Shape: Lightly flour a clean work surface. Turn the dough out onto the floured surface. Gently pat the dough into a 1-inch thick rectangle. Use a biscuit cutter (about 2-3 inches in diameter) to cut out the biscuits. If you don’t have a biscuit cutter, you can use a sharp knife or even a drinking glass. Just be sure to press straight down and avoid twisting, which can seal the edges and prevent the biscuits from rising properly.
- Re-roll Scraps (Optional): Gently gather the scraps of dough, pat them back into a 1-inch thick rectangle, and cut out more biscuits. Keep in mind that these biscuits made from the scraps may not be as tender as the first ones, as the dough has been worked more.
Baking the Biscuits
Now that our biscuits are shaped, it’s time to bake them to golden-brown perfection. The oven temperature is crucial for achieving the right rise and texture.
- Preheat the Oven: Preheat your oven to 450°F (232°C). Make sure your oven is fully preheated before you put the biscuits in. A hot oven is essential for a good rise.
- Prepare the Baking Sheet: Line a baking sheet with parchment paper. This will prevent the biscuits from sticking and make cleanup a breeze.
- Arrange the Biscuits: Place the biscuits on the prepared baking sheet, leaving about 1 inch of space between each biscuit. This allows for even heat circulation and prevents them from steaming each other.
- Bake: Bake for 12-15 minutes, or until the biscuits are golden brown on top. Keep a close eye on them, as baking times can vary depending on your oven. The biscuits should be nicely risen and have a slightly crispy crust.
Garlic Butter Topping
While the biscuits are baking, let’s prepare the garlic butter topping. This adds an extra layer of flavor and makes the biscuits even more irresistible.
- Melt the Butter: In a small bowl, melt the 2 tablespoons of butter. You can do this in the microwave or in a small saucepan over low heat.
- Add Garlic and Parsley: Stir in the 1 teaspoon of minced garlic and 1 tablespoon of minced fresh parsley. Mix well to combine. The garlic will infuse the butter with its delicious flavor.
Finishing Touches
Almost there! Once the biscuits are out of the oven, we’ll brush them with the garlic butter and let them cool slightly before serving.
- Brush with Garlic Butter: As soon as the biscuits come out of the oven, brush them generously with the garlic butter mixture. Make sure to get the tops and sides of the biscuits. The heat from the biscuits will help the garlic butter melt and soak in.
- Cool Slightly: Let the biscuits cool on the baking sheet for a few minutes before serving. This will prevent them from being too hot to handle.
- Serve and Enjoy: Serve the cheesy garlic biscuits warm. They are delicious on their own or with a pat of butter. They also pair well with soups, stews, and salads. Enjoy!

Conclusion:
And there you have it! These Cheese Garlic Biscuits are truly a game-changer. They’re quick, easy, and deliver an explosion of flavor that will have everyone reaching for seconds (and thirds!). I know I always do! The combination of the cheesy goodness, the pungent garlic, and the fluffy, buttery biscuit is simply irresistible. This isn’t just a recipe; it’s a guaranteed crowd-pleaser that’s perfect for any occasion, from a casual weeknight dinner to a more festive gathering.
But why is this recipe a must-try? Beyond the incredible taste, it’s the sheer versatility. You can whip up a batch in under 30 minutes, making it ideal for those busy evenings when you need a comforting side dish without spending hours in the kitchen. Plus, the ingredients are readily available, meaning you probably already have most of them in your pantry and refrigerator. No special trips to the grocery store required!
And the best part? You can easily customize these biscuits to suit your own preferences. Feeling adventurous? Try adding a pinch of red pepper flakes for a little kick. Or, if you’re a fan of herbs, incorporate some chopped fresh rosemary or thyme into the dough. For an extra cheesy experience, use a blend of different cheeses, such as cheddar, Gruyere, and Parmesan. The possibilities are endless!
Here are a few serving suggestions to get you started:
* Serve them warm alongside a hearty bowl of soup or chili. The cheesy, garlicky flavor complements the richness of the soup perfectly.
* Use them as a base for mini breakfast sandwiches. Top them with scrambled eggs, bacon, and a slice of cheese for a delicious and satisfying morning meal.
* Crumble them over a salad for a crunchy and flavorful topping.
* Enjoy them as a simple snack with a dollop of butter or a drizzle of honey.
* Make them into mini pizzas! Just top with your favorite pizza sauce, cheese, and toppings, and bake until the cheese is melted and bubbly.
Variations to Explore:
* Spicy Cheese Garlic Biscuits: Add 1/4 teaspoon of cayenne pepper or a finely chopped jalapeño to the dough.
* Herbaceous Cheese Garlic Biscuits: Mix in 1 tablespoon of chopped fresh rosemary, thyme, or chives.
* Everything Bagel Cheese Garlic Biscuits: Sprinkle the tops of the biscuits with everything bagel seasoning before baking.
* Parmesan Cheese Garlic Biscuits: Substitute half of the cheddar cheese with grated Parmesan cheese.
I truly believe that once you try this recipe for Cheese Garlic Biscuits, it will become a staple in your kitchen. It’s a simple, satisfying, and incredibly delicious way to elevate any meal.
So, what are you waiting for? Grab your ingredients, preheat your oven, and get ready to experience the magic of these amazing biscuits. I’m confident that you’ll love them as much as I do.
And finally, I’d absolutely love to hear about your experience! Did you try any variations? What did you serve them with? Share your photos and comments below. Let’s create a community of biscuit lovers and inspire each other with our culinary creations! Happy baking!
Cheese Garlic Biscuits: The Ultimate Recipe & Baking Guide
Flaky, cheesy biscuits infused with garlic flavor and topped with a savory garlic butter. Perfect as a side dish or snack!
Ingredients
- 2 cups all-purpose flour, plus more for dusting
- 1 tablespoon baking powder
- 1/2 teaspoon baking soda
- 1 teaspoon salt
- 1/2 teaspoon garlic powder
- 1/4 teaspoon black pepper
- 1/2 cup (1 stick) cold unsalted butter, cut into small cubes
- 1 cup buttermilk, cold
- 1 cup shredded cheddar cheese
- 1/4 cup grated Parmesan cheese
- 2 tablespoons melted butter
- 1 tablespoon minced fresh parsley
- 1 teaspoon minced garlic
Instructions
- In a large bowl, whisk together the 2 cups of all-purpose flour, 1 tablespoon of baking powder, 1/2 teaspoon of baking soda, 1 teaspoon of salt, 1/2 teaspoon of garlic powder, and 1/4 teaspoon of black pepper.
- Add the 1/2 cup (1 stick) of cold, cubed unsalted butter to the flour mixture. Use a pastry blender or your fingertips to cut the butter into the flour until the mixture resembles coarse crumbs with some pea-sized pieces of butter remaining.
- Stir in the 1 cup of shredded cheddar cheese and 1/4 cup of grated Parmesan cheese. Gently toss to combine.
- Pour in the 1 cup of cold buttermilk. Gently stir with a fork or spatula until just combined. Do not overmix. The dough will be shaggy and slightly sticky.
- Lightly flour a clean work surface. Turn the dough out onto the floured surface. Gently pat the dough into a 1-inch thick rectangle. Use a biscuit cutter (about 2-3 inches in diameter) to cut out the biscuits.
- Gently gather the scraps of dough, pat them back into a 1-inch thick rectangle, and cut out more biscuits.
- Preheat your oven to 450°F (232°C).
- Line a baking sheet with parchment paper.
- Place the biscuits on the prepared baking sheet, leaving about 1 inch of space between each biscuit.
- Bake for 12-15 minutes, or until the biscuits are golden brown on top.
- In a small bowl, melt the 2 tablespoons of butter.
- Stir in the 1 teaspoon of minced garlic and 1 tablespoon of minced fresh parsley. Mix well to combine.
- As soon as the biscuits come out of the oven, brush them generously with the garlic butter mixture.
- Let the biscuits cool on the baking sheet for a few minutes before serving.
- Serve the cheesy garlic biscuits warm.
Notes
- Keeping the butter and buttermilk cold is crucial for creating flaky biscuits.
- Avoid overmixing the dough to prevent tough biscuits.
- If you don’t have a biscuit cutter, you can use a sharp knife or drinking glass.
- Baking times may vary depending on your oven.


Leave a Comment