

Bluey Cake – the very phrase evokes images of laughter, vibrant colors, and the pure joy of childhood. As a dedicated enthusiast of delightful bakes and a parent who understands the profound impact of our favorite animated canine family, I am absolutely thrilled to guide you through crafting a show-stopping dessert that brings the magic of Bluey and Bingo right to your celebration. This isn’t just any cake; it’s a centerpiece that embodies the playful spirit and heartwarming adventures that have captivated families worldwide.
The Australian animated series “Bluey” has become a global phenomenon, celebrated for its insightful portrayal of family life, imaginative play, and genuine emotion. Consequently, the desire to create a spectacular Bluey Cake has soared, transforming birthday parties and special gatherings into truly unforgettable events. People adore this dish not only for its incredible visual appeal, perfectly capturing Bluey’s iconic look, but also for its promise of a delicious, moist, and wonderfully flavored treat beneath the vibrant frosting. Imagine the delighted gasps when your little one sees their favorite character brought to life in edible form!
Whether you’re a seasoned baker or an enthusiastic novice, my comprehensive guide will ensure you achieve a professional-looking and utterly scrumptious result, making you the hero of the party. Let’s embark on this fun baking adventure together!

Ingredients:
- For the Vanilla Cake Layers:
- All-Purpose Flour: 3 cups (360g), sifted. I usually opt for all-purpose as it’s readily available, but if you want an extra tender crumb, you can use cake flour. Just be sure to sift it either way to prevent lumps and aerate it.
- Granulated Sugar: 2 cups (400g). This gives our cake its wonderful sweetness and helps with moisture retention.
- Unsalted Butter: 1 cup (226g), softened to room temperature. This is crucial for creaming properly, leading to a light and fluffy cake. Always use unsalted butter so you can control the salt content in your recipe.
- Large Eggs: 4, at room temperature. Just like the butter, room temperature eggs emulsify better with the other ingredients, resulting in a smoother batter and a more uniform bake.
- Whole Milk: 1 cup (240ml), at room temperature. Again, room temperature is key here for proper emulsion. Whole milk adds richness and moisture to our cake.
- Pure Vanilla Extract: 2 teaspoons. For that classic, comforting vanilla flavor that pairs so perfectly with any frosting.
- Baking Powder: 1 tablespoon. Our leavening agent that helps the cake rise beautifully. Make sure yours isn’t expired!
- Salt: 1/2 teaspoon. A little pinch enhances all the other flavors and balances the sweetness.
- For the Silky Vanilla Buttercream Frosting:
- Unsalted Butter: 2 cups (452g), softened to room temperature. This is the base of our delicious, stable buttercream.
- Powdered Sugar (Confectioners’ Sugar): 6-8 cups (700-900g), sifted. Sifting is essential to avoid a gritty frosting texture. Start with 6 cups and add more as needed to reach your desired consistency and sweetness.
- Heavy Cream or Whole Milk: 1/4 – 1/2 cup (60-120ml), chilled. This helps achieve a creamy, spreadable consistency. Start with less and add more slowly.
- Pure Vanilla Extract: 2 teaspoons. For that lovely, aromatic vanilla touch.
- Pinch of Salt: About 1/4 teaspoon. To balance the sweetness of the powdered sugar.
- For the Bluey Cake Decoration:
- Gel Food Coloring: High-quality gel colors are best as they provide vibrant hues without thinning your frosting. You’ll need:
- Sky blue (for Bluey’s main fur color)
- Dark blue (for stripes, nose, and inner ears)
- White (for eyes, mouth details)
- Black (for eye pupils, outlines)
- Orange/Peach (for snout)
- Brown (for eyebrows, spots)
- Gel Food Coloring: High-quality gel colors are best as they provide vibrant hues without thinning your frosting. You’ll need:
Gather Your Equipment:
Before we dive into the fun of baking, let’s make sure we have all our tools ready. Having everything at hand makes the process much smoother and more enjoyable!
- Two 8-inch round cake pans
- Parchment paper (for lining your pans)
- Electric mixer (stand mixer with paddle attachment or a hand-held mixer)
- Large mixing bowls (at least two)
- Rubber spatulas and an offset spatula (these are incredibly useful!)
- Whisk
- Fine-mesh sieve or sifter
- Measuring cups and spoons
- Wire cooling racks
- Cake leveler or a long serrated knife
- Cake turntable (optional, but highly recommended for easy frosting)
- Piping bags (disposable or reusable)
- Assortment of piping tips: Small round tip (e.g., Wilton 3 or 4) for outlines and details, a medium round tip (e.g., Wilton 12) for filling, and possibly a star tip for any border decorations you might want.
- Small bowls or containers for coloring frosting
Preparing the Cake Layers:
This is where the magic begins! We’re going to create a tender, delicious vanilla cake that will serve as the perfect canvas for our Bluey Cake.
- Preheat and Prep: First things first, preheat your oven to 350°F (175°C). Then, prepare your two 8-inch round cake pans. Grease them thoroughly with butter or non-stick spray, then line the bottoms with parchment paper circles. Grease the parchment paper too! This extra step ensures your cakes release perfectly every time, preventing any heartbreak after all your hard work.
- Combine Dry Ingredients: In a medium bowl, whisk together the sifted all-purpose flour, baking powder, and salt. Make sure these are thoroughly combined. Whisking them together helps distribute the leavening evenly, contributing to a consistent rise. Set this aside for a moment.
- Cream Butter and Sugar: In the large bowl of your electric mixer, cream together the softened unsalted butter and granulated sugar on medium-high speed. Beat them until the mixture is light, fluffy, and pale yellow, which usually takes about 3-5 minutes. This creaming process incorporates air into the butter, creating pockets that will expand in the oven, giving our cake a wonderful texture.
- Add Eggs Gradually: Reduce the mixer speed to medium. Add the eggs one at a time, beating well after each addition. Make sure each egg is fully incorporated before adding the next. If your mixture looks a little curdled, don’t worry, it will come back together as you add the dry ingredients. Scrape down the sides of the bowl often to ensure everything is mixed evenly.
- Introduce Vanilla: Stir in the vanilla extract. Oh, that lovely aroma!
- Alternate Dry and Wet: Now it’s time to bring our dry and wet ingredients together. With the mixer on low speed, add about one-third of the dry ingredient mixture to the butter-egg mixture. Mix just until combined, then pour in half of the room temperature whole milk. Continue alternating, adding another third of the dry ingredients, then the remaining milk, and finally the last third of the dry ingredients. A vital tip here: do not overmix! Overmixing develops the gluten in the flour too much, which can lead to a tough, dry cake. Mix just until no streaks of flour remain. A few small lumps are perfectly fine.
- Divide and Bake: Divide the batter evenly between your two prepared cake pans. You can use a kitchen scale for precision if you have one, ensuring both layers bake evenly. Gently tap the pans on the counter a couple of times to release any large air bubbles.
Baking and Cooling the Cakes:
Patience is a virtue, especially when it comes to baking and cooling. Rushing this stage can compromise the texture and structure of your beautiful layers.
- Bake to Perfection: Place the cake pans in the preheated oven. Bake for approximately 28-35 minutes, or until a wooden skewer or toothpick inserted into the center of the cakes comes out clean. Every oven is different, so keep an eye on them starting around the 28-minute mark. The tops should be golden brown and spring back when gently pressed.
- Initial Cooling: Once baked, remove the cakes from the oven and let them cool in their pans on a wire rack for 10-15 minutes. This allows the cakes to firm up slightly, making them easier to handle without breaking.
- Full Cooling: After the initial cooling period, carefully invert the cakes onto the wire racks, remove the pans, and gently peel off the parchment paper. Let the cakes cool completely on the wire racks before frosting. This step is absolutely critical. If you try to frost warm cakes, your buttercream will melt and slide right off, turning your delicious creation into a sugary mess. I usually let them cool for at least 1-2 hours, or even longer if my kitchen is warm. For best results, once fully cooled, you can wrap them tightly in plastic wrap and refrigerate them for an hour or so, or even overnight. Chilled cakes are much easier to handle and level!
Whipping Up the Silky Buttercream:
Our beautiful vanilla cake layers deserve an equally delicious and smooth frosting. This buttercream recipe is perfect for stacking, decorating, and, of course, eating!
- Cream the Butter: In the clean bowl of your electric mixer with the paddle attachment, beat the softened unsalted butter on medium speed for about 5 minutes. We want it to be very light and fluffy, almost white in color. This process aerates the butter, creating a truly light buttercream. Scrape down the sides of the bowl as needed.
- Add Powdered Sugar: With the mixer on low speed, gradually add the sifted powdered sugar, one cup at a time, until fully incorporated. If you add it too quickly, you’ll end up with a sugar cloud in your kitchen! Once all the sugar is added, increase the speed to medium-high and beat for another 3-5 minutes. The frosting should be noticeably fluffy and light.
- Introduce Liquid and Flavor: Reduce the mixer speed to low. Pour in the vanilla extract, a pinch of salt, and about 1/4 cup of the chilled heavy cream or milk. Beat until combined.
- Adjust Consistency: Increase the speed to medium-high and beat for another 2-3 minutes. At this point, check the consistency of your buttercream. If it’s too thick, add more heavy cream or milk, one tablespoon at a time, until you reach a smooth, spreadable, yet firm consistency that holds its shape. If it’s too thin, you can add a bit more sifted powdered sugar (a tablespoon at a time) or chill it in the fridge for 15-20 minutes to firm it up. We’re aiming for something that’s easy to spread but sturdy enough to hold its shape for piping and decorating our Bluey Cake.
Assembling and Crumb Coating Your Bluey Cake:
This stage is all about building our cake structure. The crumb coat is essential for a smooth, professional finish.
- Level the Cakes: Once your cake layers are completely cool (and ideally a little chilled), use a cake leveler or a long serrated knife to carefully level the tops of each cake layer. This creates flat surfaces, ensuring your cake stacks evenly and doesn’t lean. You can nibble on the cake scraps as a reward!
- First Layer and Filling: Place one leveled cake layer on your cake turntable or serving plate. Spoon about 1 to 1 1/2 cups of buttercream onto the top and spread it evenly with an offset spatula, right to the edges.
- Stack the Second Layer: Carefully place the second leveled cake layer on top of the first, pressing down gently to secure it. Make sure it’s centered.
- The Crumb Coat: This is a thin layer of frosting that traps any loose crumbs, preventing them from mixing into your final decorative layer. Take a small amount of buttercream (about 1/2 to 1 cup) and apply a very thin layer all over the top and sides of the stacked cake. Don’t worry if it looks messy; its job is just to catch crumbs. Use your offset spatula to spread it as thinly and evenly as possible.
- Chill for Firmness: Once the crumb coat is applied, place your cake in the refrigerator for at least 20-30 minutes. This allows the crumb coat to firm up, effectively locking in all those pesky crumbs. This step is a game-changer for a super smooth finish on your Bluey Cake.
The Final Smooth Frosting Layer:
Now that our crumb coat is firm, it’s time for the beautiful, smooth base layer of frosting that will really make our Bluey Cake shine.
- Apply Final Frosting: Remove your chilled cake from the refrigerator. Take a generous amount of your remaining buttercream (you’ll use most of it for this layer and decoration). Start by placing a good dollop on top of the cake, spreading it evenly across the top and down the sides using your offset spatula.
- Smooth it Out: Use your offset spatula or a bench scraper to smooth the top and sides of the cake. If you’re using a turntable, rotate the cake slowly while holding your scraper steady against the sides to achieve a perfectly smooth finish. Take your time with this step; a smooth base makes all the difference for your decoration. You want a beautifully even surface ready for Bluey’s face!
- Final Chill: Once you’re happy with the smoothness, place the cake back into the refrigerator for at least 30 minutes, or even longer, until the frosting is firm to the touch. This firm base is crucial for successful piping and decoration of your Bluey Cake.
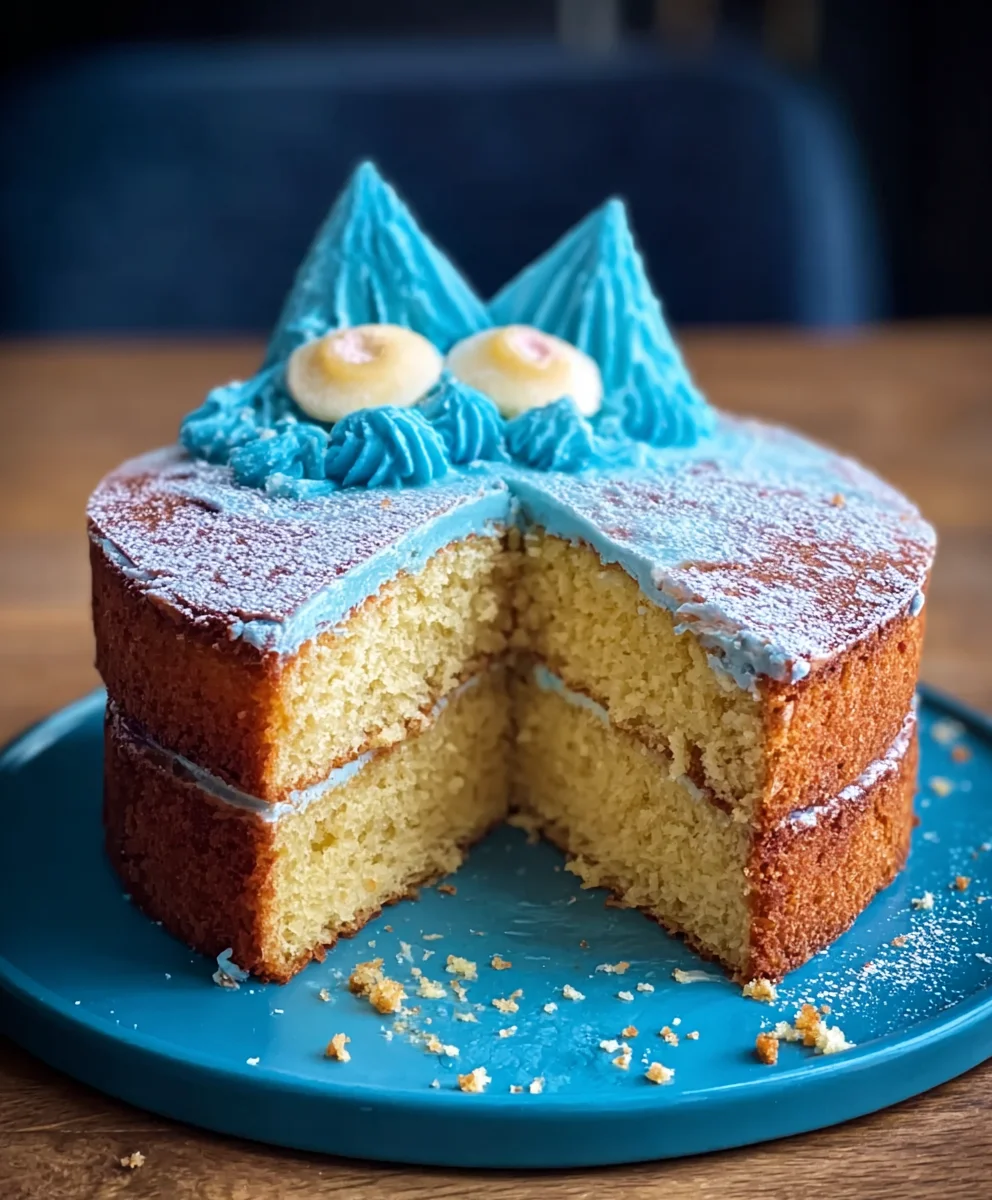
Bringing Bluey to Life: The Decoration!
This is the most exciting part where we transform our simple vanilla cake into an adorable Bluey Cake! Get ready to unleash your inner artist. We’ll be creating a simple yet recognizable Bluey face on top of the cake.
Coloring Your Buttercream for Bluey:
Before we start piping, we need to prepare our palette!
- Divide and Conquer: Take out your remaining buttercream. You’ll need to divide it into several small bowls for coloring. Reserve a good portion for Bluey’s main sky blue color. Then, set aside smaller amounts for dark blue, white, black, orange/peach, and brown.
- Coloring Time:
- Main Bluey Blue: Add several drops of sky blue gel food coloring to the largest portion of buttercream. Mix thoroughly with a clean spatula until you achieve a vibrant, consistent Bluey blue. Remember, gel colors intensify over time, so you might start a little lighter than you think you need.
- Dark Blue: Add dark blue gel coloring to a smaller portion of buttercream. This will be for Bluey’s stripes, nose, and inner ears.
- White: Leave a small amount of buttercream white for the whites of Bluey’s eyes and mouth details. You can even add a tiny speck of white food coloring if you want a super bright white.
- Black: Use black gel coloring for Bluey’s pupils and outlines. Be careful, a little black goes a long way!
- Orange/Peach: Mix a tiny bit of orange or peach gel coloring for Bluey’s snout.
- Brown: For the eyebrows and any little freckles or spots, color a very small amount of buttercream brown.
- Prepare Piping Bags: Fit your piping bags with the appropriate tips. For outlines and small details (eyes, nose, mouth), use a small round tip (like Wilton 3 or 4). For filling in larger areas (snout), a medium round tip (like Wilton 12) is useful. Fill each piping bag with its respective colored buttercream, pushing the frosting down to the tip and twisting the end of the bag to seal.
Creating Bluey’s Face Outline:
It’s helpful to have a reference image of Bluey’s face handy for this step!
- Light Outline (Optional but Helpful): If you’re a bit nervous, you can lightly sketch Bluey’s basic head shape onto the chilled cake using a toothpick. Don’t press too hard, just enough to leave a faint guide.
- The Main Shape: Using your sky blue buttercream and a small round tip, carefully pipe the main outline of Bluey’s head on top of your cake. This will be a rounded, almost peanut-like shape, slightly wider at the bottom for her jowls and narrowing towards the top. Leave space for her ears to extend beyond this outline.
- Add Ears: Pipe two rounded, slightly elongated ear shapes extending upwards from the top corners of Bluey’s head outline.
- Snout and Eyes: Pipe an oval shape for her snout towards the bottom center of her face. Above the snout, pipe two large circles for her eyes, making sure they are spaced appropriately.
- Eyebrows and Mouth: Add two arched lines for her eyebrows above her eyes. For the mouth, pipe a gentle curve below the snout, indicating a cheerful smile.
Filling in Bluey’s Colors:
Now we bring Bluey’s iconic colors to life!
- Fill in Main Bluey Blue: Using the sky blue buttercream (you can either use a larger round tip or snip a bigger opening in your piping bag), carefully fill in the large areas of Bluey’s head and ears within the outlines. Work slowly and evenly. Once filled, use a small offset spatula or the back of a spoon to gently smooth the surface of the piped frosting.
- Snout and Inner Ears: Switch to your orange/peach buttercream. Fill in Bluey’s snout with this color and smooth it out. Then, with your dark blue buttercream, pipe a smaller oval shape within each ear to represent the inner ear, and smooth.
- Eye Whites: Using white buttercream, fill in the two large eye circles. Smooth carefully.
Adding Bluey’s Signature Details:
These are the finishing touches that really make it a Bluey Cake!
- Dark Blue Stripes: Using the dark blue buttercream and a small round tip, pipe Bluey’s signature stripes on her head. These are typically three slightly curved lines extending from the back of her head towards her snout, and one or two on her ears. Reference your picture to get these just right. Pipe a small, rounded triangle for her nose at the top of her snout.
- Black Details (Eyes and Outlines): Take your black buttercream and the small round tip. Pipe small black circles in the center of the white eye areas for her pupils. You can also use this black to outline her main head shape, ears, snout, and mouth for a cartoon-like definition. This step really makes Bluey pop!
- White Eye Sparkle and Teeth: Go back to your white buttercream. Add tiny white dots or a small crescent shape in each black pupil to give Bluey’s eyes a lively sparkle. For her mouth, pipe two small white rectangles or squares for her front teeth just below the snout.
- Brown Eyebrows and Spots: Use your brown buttercream to re-emphasize her eyebrows, perhaps adding a few tiny dots for freckles or subtle spots on her face, referencing her design.
- Final Review: Step back and look at your magnificent Bluey Cake! Are there any areas that need a little touch-up or smoothing? Add any additional details you like. You can even pipe a simple border around the base of the cake with some leftover blue buttercream if you wish.
Tips for a Perfect Bluey Cake:
- Room Temperature Ingredients are Key: I cannot stress this enough for both the cake and buttercream. It ensures proper emulsification and a consistent texture.
- Don’t Overmix: For the cake batter, overmixing develops gluten, leading to a tough cake. Mix only until ingredients are just combined.
- Chill, Chill, Chill: Chilling your cake layers after leveling, after the crumb coat, and after the final frosting layer is your secret weapon for a professional-looking, sturdy Bluey Cake.
- Practice Piping: If you’re new to piping, try practicing on a piece of parchment paper first. You can scrape the frosting back into the bag and reuse it!
- Reference Photo: Keep a clear image of Bluey handy while decorating. It helps immensely with accuracy.
- Clean as You Go: Keep a damp cloth nearby to wipe off your offset spatula or piping tips as you work. Clean tools lead to cleaner lines.
- Adjust Frosting Consistency: If your frosting becomes too stiff while working, add a tiny bit of cream or milk. If it’s too soft, chill it for a few minutes.
- Have Fun! Remember, this is a fun project. Don’t stress over perfection. The joy of a homemade Bluey Cake is in the effort and the love you put into it!
Storing Your Bluey Cake:
Once your beautiful Bluey Cake is complete, you’ll want to ensure it stays fresh and delicious until it’s time to serve.
- Room Temperature: If your cake is being served within 1-2 days and your kitchen isn’t excessively warm (above 70°F/21°C), it can be stored at cool room temperature in an airtight cake carrier. This allows the cake to remain soft and moist, as refrigeration can sometimes dry out the cake.
- Refrigeration: For longer storage, or if your home is warm, refrigerate the cake in an airtight container or covered loosely with plastic wrap. Before serving, allow the cake to come to room temperature for at least 1-2 hours. This brings the buttercream to its optimal texture and allows the cake layers to soften again, enhancing the flavor and mouthfeel.
- Freezing: Leftover slices or even a whole decorated Bluey Cake can be frozen! Place the cake (or slices) uncovered in the freezer for about 30-60 minutes until the frosting is firm. Then, wrap tightly in plastic wrap, followed by a layer of aluminum foil. It can be stored in the freezer for up to 2-3 months. Thaw overnight in the refrigerator, then bring to room temperature before serving.
Enjoy your delightful, homemade Bluey Cake! It’s sure to bring big smiles to any celebration!
<h2>Conclusion:</h2>
<p>Well, my friends, we’ve reached the sweet finale of our culinary journey together, and I truly hope you’re feeling inspired! If there’s one recipe I could implore you to try, it’s this one. It’s more than just a dessert; it’s an experience, a moment of pure joy waiting to happen in your kitchen. From its incredibly simple preparation to its show-stopping presentation, this recipe is designed for success, regardless of your baking prowess. I’ve heard countless stories from home bakers who, after years of avoiding complex bakes, found newfound confidence and delight in creating something so beautiful and delicious with surprisingly little fuss. The gentle aroma that fills your home as it bakes is, in itself, a delightful prelude to the treat that awaits. <strong>You’re not just baking a cake; you’re crafting memories</strong> and setting the stage for smiles, giggles, and appreciative sighs.</p>
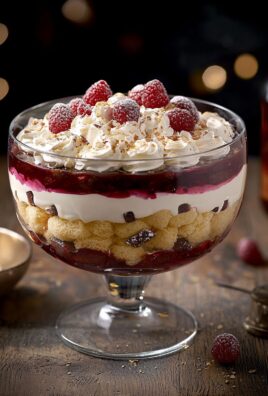
<p>Let’s talk about making this delightful creation even more special. While it shines brightly on its own, there are so many wonderful ways to serve and elevate it. For a truly indulgent experience, I highly recommend pairing a slice with a generous scoop of vanilla bean ice cream or a dollop of freshly whipped cream. The cool, creamy texture contrasts beautifully with the tender, moist crumb. <h5>Consider a Berry Medley:</h5> A scattering of fresh berries—strawberries, raspberries, or blueberries—adds a lovely burst of freshness and a touch of vibrant color, making it perfect for a summer gathering or a bright addition to any brunch spread. For those cooler evenings, a drizzle of warm chocolate ganache or a salted caramel sauce can transform it into an even more decadent treat. It’s also absolutely wonderful alongside a warm cup of coffee or a comforting mug of herbal tea, making it the ideal accompaniment for an afternoon pick-me-up or a quiet evening dessert.</p>
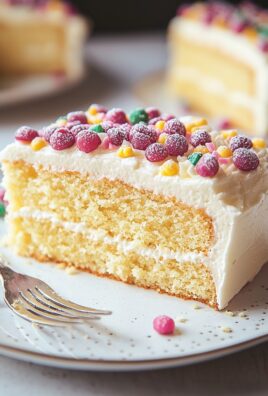
<p>And don’t even get me started on the variations you can explore! This recipe is truly a canvas for your creativity. Feeling adventurous? <h5>Try a Citrus Twist:</h5> You could infuse the batter with orange or lemon zest for a bright, zesty flavor profile. A tablespoon of espresso powder can deepen the flavor profile beautifully, adding a sophisticated, subtle coffee note without making it taste overtly like coffee. For a textural contrast, fold in some chopped nuts like pecans or walnuts, or even mini chocolate chips, before baking. If you’re planning it for a specific occasion, consider adapting the frosting. A cream cheese frosting, a rich buttercream, or even a simple glaze made with powdered sugar and milk can completely change its character. For a festive touch, use sprinkles that match your party theme, or seasonal decorations. This versatility means that while the core recipe is a guaranteed winner, you can customize it endlessly to suit any palate, preference, or occasion. <strong>The possibilities are truly endless, limited only by your imagination.</strong></p>
<p>So, what are you waiting for? Grab your apron, preheat that oven, and get ready to create something truly magical. This recipe is more than just ingredients and instructions; it’s an invitation to experience the joy of baking. I am genuinely excited for you to try it out. Once you’ve taken that first glorious bite, I would absolutely love to hear all about your experience. Please share your photos, your triumphs, and any clever variations you come up with in the comments below or on social media! <h4>Let’s see those beautiful bakes!</h4> There’s nothing quite like seeing your creations come to life in other people’s kitchens. Whether you’re making it for a special birthday, a simple family gathering, or just because you fancy a delicious treat, this recipe is guaranteed to impress. Trust me, you’ll be so proud of what you’ve accomplished, and it might just become your new go-to dessert for any occasion, perhaps even inspiring you to craft a magnificent <strong>Bluey Cake</strong> for the little ones in your life. Happy baking, my dear readers, and I can’t wait to hear all about your sweet successes!</p>
Bluey Cake Recipe: Easy, Fun Kids’ Birthday Party Treat!
Craft a delightful Bluey Cake with this easy Funfetti recipe, perfect for any kid’s birthday party! Bring Bluey and Bingo to life with vibrant frosting and fun Rice Krispies ears and snout.
Ingredients
-
1 box Funfetti cake mix (plus ingredients required on box for four 6 or 7-inch rounds)
-
3 cups unsalted butter, softened
-
6 cups powdered sugar, sifted
-
4 tablespoons heavy cream, chilled
-
2 teaspoons pure vanilla extract
-
1/4 teaspoon salt
-
Gel food coloring (yellow, brown, blue – sky blue and dark blue, black)
-
Large marshmallows
-
Rice Krispies cereal
Instructions
-
Step 1
{‘@type’: ‘HowToStep’, ‘name’: ‘Bake Cake Layers’, ‘text’: ‘Preheat oven as directed on your Funfetti cake mix box. Prepare four 6 or 7-inch round cake pans by greasing and lining with parchment paper. Prepare cake batter according to package directions. Divide batter evenly among prepared pans and bake until a wooden skewer or toothpick inserted into the center comes out clean (check package for specific bake times for smaller pans, typically 20-25 minutes). Allow cakes to cool in pans for 10-15 minutes, then invert onto wire racks to cool completely. For best results, once fully cooled, wrap and chill cakes in the refrigerator for at least 1 hour.’, ‘supply’: [‘Four 6 or 7-inch round cake pans’, ‘Parchment paper’, ‘Wire cooling racks’]} -
Step 2
{‘@type’: ‘HowToStep’, ‘name’: ‘Prepare Buttercream’, ‘text’: ‘In the bowl of an electric mixer with the paddle attachment, beat the 3 cups softened unsalted butter on medium speed for about 5 minutes until very light and fluffy. With the mixer on low speed, gradually add the 6 cups of sifted powdered sugar, one cup at a time, until fully incorporated. Add 2 teaspoons pure vanilla extract, 1/4 teaspoon salt, and 4 tablespoons chilled heavy cream. Increase speed to medium-high and beat for another 3-5 minutes until the buttercream is smooth, fluffy, and holds its shape. Adjust consistency with a little more cream if too thick, or more powdered sugar if too thin.’, ‘tool’: [‘Electric mixer (stand mixer with paddle attachment)’], ‘supply’: [‘Large mixing bowl’]} -
Step 3
{‘@type’: ‘HowToStep’, ‘name’: ‘Assemble Cake and Crumb Coat’, ‘text’: ‘Once cake layers are completely cool and chilled, use a cake leveler or a long serrated knife to level the tops of each layer. Place one leveled cake layer on your cake turntable or serving plate. Spoon about 1 to 1 1/2 cups of buttercream onto the top and spread evenly. Repeat with remaining layers, stacking them carefully. Apply a very thin layer of buttercream (the crumb coat) all over the top and sides of the stacked cake to trap any loose crumbs. Refrigerate the cake for at least 20-30 minutes until the crumb coat is firm.’, ‘tool’: [‘Cake leveler or serrated knife’, ‘Offset spatula’, ‘Cake turntable (optional)’]} -
Step 4
{‘@type’: ‘HowToStep’, ‘name’: ‘Apply Final Frosting Layer’, ‘text’: ‘Remove the chilled cake from the refrigerator. Apply a generous, smooth, and even layer of buttercream to the top and sides of the cake. Use your offset spatula or a bench scraper to achieve a smooth finish. Once satisfied with the smoothness, place the cake back into the refrigerator for at least 30 minutes, or until the frosting is firm to the touch.’, ‘tool’: [‘Offset spatula’, ‘Bench scraper (optional)’]} -
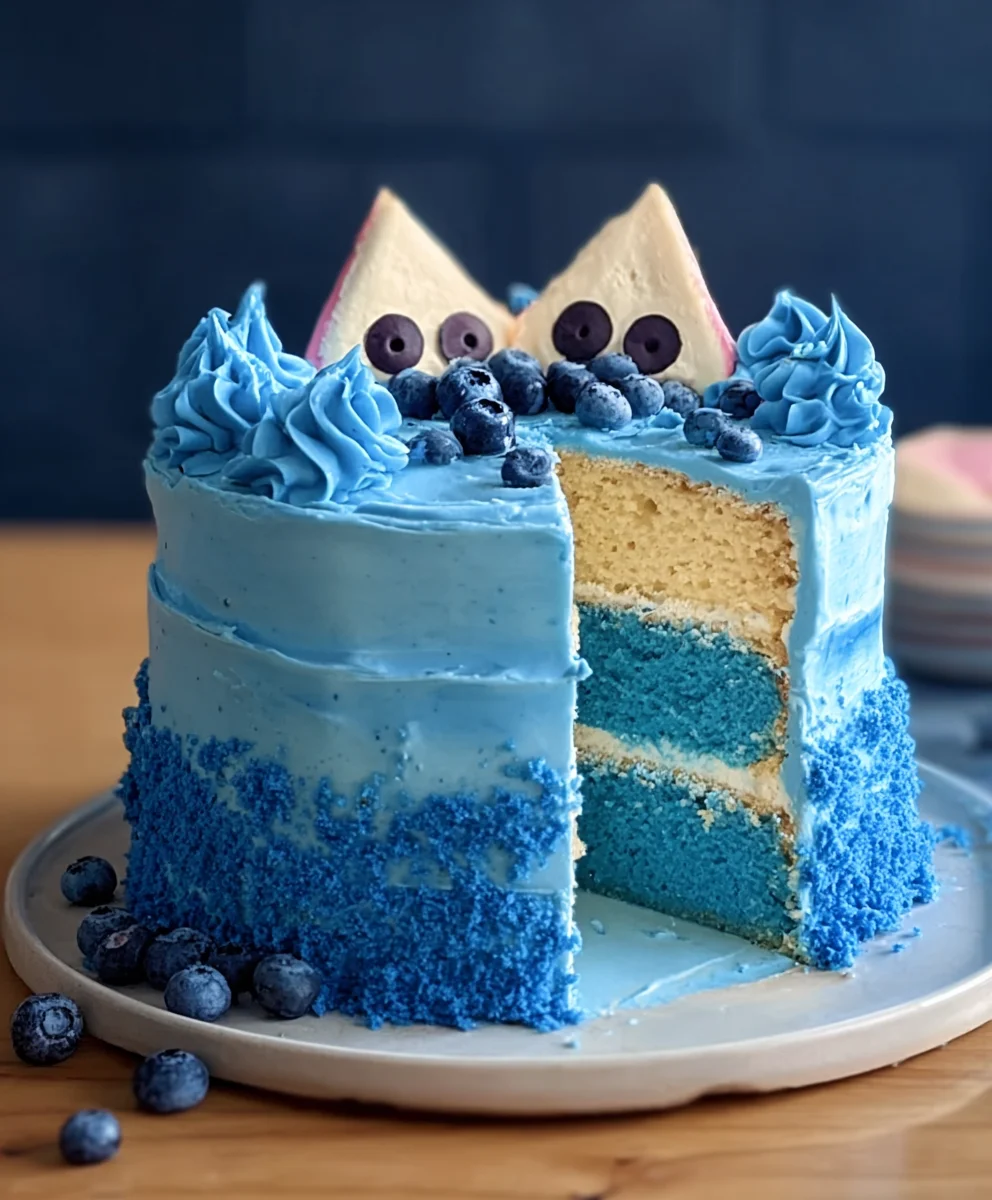
Step 5
{‘@type’: ‘HowToStep’, ‘name’: “Shape Bluey’s Ears and Snout”, ‘text’: ‘In a microwave-safe bowl, briefly melt a handful of large marshmallows until puffy (about 15-30 seconds). Stir in enough Rice Krispies cereal to create a moldable mixture that is not too sticky. Shape two elongated ear shapes and one oval for the snout. Allow them to cool and harden slightly on parchment paper.’, ‘supply’: [‘Microwave-safe bowl’, ‘Parchment paper’]} -
Step 6
{‘@type’: ‘HowToStep’, ‘name’: ‘Color Buttercream’, ‘text’: “Divide the remaining buttercream into several small bowls. Color the largest portion with sky blue gel food coloring for Bluey’s main fur color. Color smaller portions with dark blue, yellow, brown, and black gel food coloring. You can leave a tiny bit of white buttercream aside for eye highlights if desired.”, ‘supply’: [‘Small mixing bowls’]} -
Step 7
{‘@type’: ‘HowToStep’, ‘name’: “Decorate Bluey’s Face”, ‘text’: “Fit piping bags with appropriate tips (Wilton 1A for filling, Wilton 10 for details recommended). Fill each bag with its respective colored buttercream. Using the main sky blue buttercream, cover the firm, frosted cake, shaping it to resemble Bluey’s head. Attach the shaped Rice Krispies ears to the top of the cake and cover them with sky blue buttercream. Attach the oval Rice Krispies snout to the face and cover with yellow/peach buttercream (use yellow gel for a peach tone). Pipe two large circles with white (or light blue) buttercream for the eyes. Add small black pupils with black buttercream and tiny white dots for sparkle. Pipe a dark blue rounded triangle for the nose. Pipe a cheerful smile for the mouth with dark blue or black. Add dark blue stripes to Bluey’s head and ears. Use brown buttercream for eyebrows and any small freckles or spots.”, ‘tool’: [‘Piping bags’, ‘Wilton 1A piping tip’, ‘Wilton 10 piping tip’]} -
Step 8
Chill the decorated Bluey Cake until ready to serve. For optimal taste, allow the cake to come to room temperature for 1-2 hours before serving. Store any leftover slices in an airtight container at cool room temperature for 1-2 days, or refrigerated for up to 1 week. Cake layers can be frozen, and buttercream can be made ahead and stored in the fridge for up to a month. A completed cake can also be frozen by chilling until firm, then wrapping tightly in plastic wrap and foil; thaw overnight in the refrigerator.
Important Information
Nutrition Facts (Per Serving)
It is important to consider this information as approximate and not to use it as definitive health advice.
Allergy Information
Please check ingredients for potential allergens and consult a health professional if in doubt.

Leave a Comment