

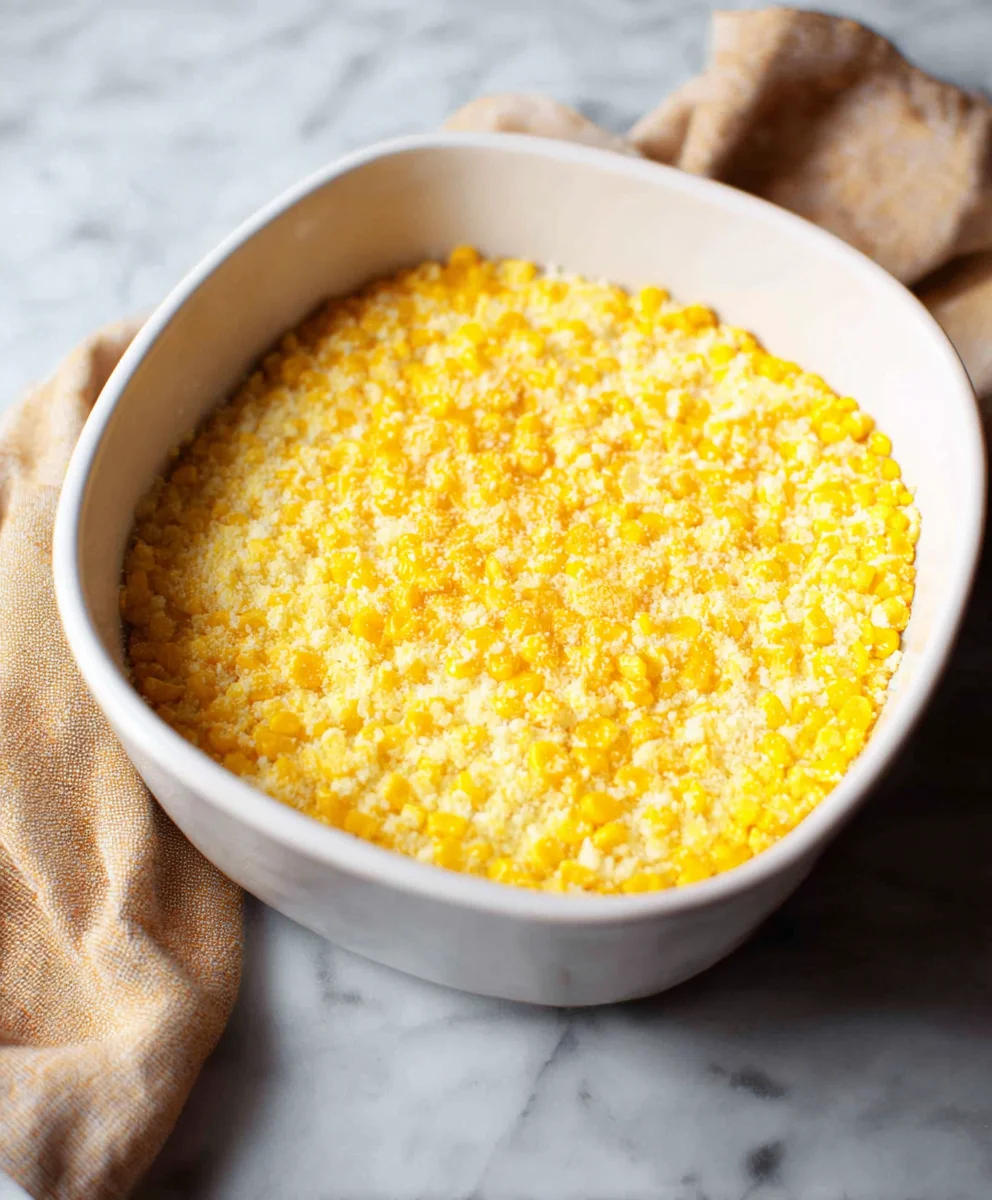
Amish Baked Corn is a dish that immediately transports me back to comforting, homemade meals, offering a simplicity that truly shines. I find its creamy texture and rich, sweet-savory flavor profile utterly irresistible, transforming humble corn into an extraordinary side dish that consistently garners rave reviews. This classic recipe embodies the heart of traditional Amish cooking, celebrated for its wholesome ingredients and the ability to turn basic pantry staples into incredibly satisfying fare. It’s more than just a side; it’s a testament to the joy of simple, hearty comfort food, a culinary heritage passed down through generations.
People absolutely adore this particular Amish Baked Corn not only for its delightful taste and wonderfully smooth consistency but also for its remarkable ease of preparation, making it an ideal choice for busy weeknights or a cherished addition to any holiday table. I am confident that this authentic recipe will bring a touch of heartwarming tradition to your next meal, becoming a firm family favorite for years to come.

Ingredients:
- For the Creamy Corn Base:
- 4 cups (about 24-28 ounces) frozen sweet corn kernels, thawed and drained very well, or 4 cans (15 ounces each) whole kernel corn, drained and rinsed
- 1/2 cup (1 stick) unsalted butter, melted
- 1/4 cup all-purpose flour
- 2 tablespoons granulated sugar (adjust to your preference for sweetness)
- 1 teaspoon fine sea salt, or to taste
- 1/2 teaspoon freshly ground black pepper
- 1/4 teaspoon freshly grated nutmeg (a little bit goes a long way and adds a wonderful depth!)
- 3 large eggs, lightly beaten
- 1 1/2 cups whole milk
- 1/2 cup heavy cream (for an extra rich and decadent “Amish Baked Corn,” or you can substitute with sour cream for a slight tang)
- For the Topping (Optional, but highly recommended for texture!):
- 1/2 cup panko breadcrumbs (or regular fine breadcrumbs)
- 2 tablespoons unsalted butter, melted
Preparing for Your Delicious Amish Baked Corn
Before we dive into the heart of this comforting “Amish Baked Corn” recipe, it’s always a good idea to get our workspace and equipment ready. A little prep work now saves a lot of hassle later!
- Preheat the Oven: First things first, let’s get that oven to the perfect temperature. Preheat your oven to 350°F (175°C). This ensures an even bake from the moment your dish goes in, preventing any uneven cooking. I find that a properly preheated oven is key to achieving that beautiful golden crust and perfectly set custard in our “Amish Baked Corn.”
- Prepare Your Baking Dish: Next, you’ll need a suitable baking dish. I recommend a 2-quart (or 9×13 inch) baking dish. Generously grease it with butter or a non-stick cooking spray. When I say generously, I mean it! This step is crucial for preventing the creamy “Amish Baked Corn” from sticking to the bottom and sides, making serving and cleanup so much easier. Trust me, there’s nothing more frustrating than a delicious casserole stuck stubbornly to the pan. You want every last bit of this glorious dish to make it to the plate!
- Thaw and Drain the Corn: If you’re using frozen corn, make sure it’s fully thawed. You can do this by letting it sit in the refrigerator overnight or by running it under cold water in a colander. Once thawed, and even if you’re using canned corn, it’s incredibly important to drain it exceptionally well. Excess moisture can lead to a watery “Amish Baked Corn” rather than the rich, creamy consistency we’re aiming for. I often press the corn gently against the sides of the colander or even pat it dry with a clean kitchen towel to remove as much liquid as possible. This extra effort really pays off in the final texture of your dish.
Crafting the Creamy Corn Mixture for Amish Baked Corn
Now that our prep work is done, it’s time to bring together the star ingredients that make this “Amish Baked Corn” so incredibly special. This is where the magic really begins!
- Melt the Butter and Create the Roux: In a large, heavy-bottomed saucepan or a Dutch oven, melt your 1/2 cup of unsalted butter over medium heat. Once the butter is completely melted and shimmering, sprinkle in the 1/4 cup of all-purpose flour. Whisk constantly for about 1 to 2 minutes. What you’re doing here is creating a simple roux, which will act as the thickener for our “Amish Baked Corn” custard base. The flour will absorb the butter and form a paste. It should smell slightly nutty, but don’t let it brown too much, as we want to keep a light color for our creamy corn.
- Whisk in the Seasonings: Remove the saucepan from the heat for a moment. This helps prevent lumps when adding the liquid. Whisk in the 2 tablespoons of granulated sugar, 1 teaspoon of fine sea salt, 1/2 teaspoon of freshly ground black pepper, and if you’re using it, the 1/4 teaspoon of freshly grated nutmeg. Stir these spices thoroughly into the flour and butter mixture. The warmth from the pan will help release their lovely aromas. This blend of sweet and savory is truly what sets “Amish Baked Corn” apart.
- Gradually Add the Dairy: Return the saucepan to low heat. Slowly, in a steady stream, pour in the 1 1/2 cups of whole milk, whisking continuously. Then, follow with the 1/2 cup of heavy cream (or sour cream, if you’re opting for that!). It’s crucial to whisk constantly during this step to prevent lumps and to ensure a smooth, velvety sauce. Keep whisking until the mixture thickens slightly and comes to a gentle simmer. It should coat the back of a spoon. This process usually takes about 5-7 minutes. Once it’s thickened, remove the saucepan from the heat.
- Temper the Eggs: In a separate small bowl, lightly beat your 3 large eggs. To prevent the eggs from scrambling when added to the hot milk mixture, we need to “temper” them. Slowly drizzle about 1/2 cup of the hot milk mixture into the beaten eggs, whisking vigorously the entire time. This gradually brings the temperature of the eggs up. Once combined, pour the warmed egg mixture back into the saucepan with the remaining milk mixture, whisking constantly to fully incorporate everything. This careful step ensures your “Amish Baked Corn” will have a smooth, custard-like texture, not a lumpy one!
- Combine with the Corn: Finally, add your well-drained corn kernels to the creamy mixture in the saucepan. Stir gently with a spoon or spatula until the corn is evenly coated. Take a moment here to taste the mixture and adjust seasonings if necessary. Does it need a touch more salt? A pinch more sugar? This is your chance to personalize your “Amish Baked Corn” before it goes into the oven. I always recommend tasting at this stage, as it’s much harder to adjust once baked.
Assembling and Baking Your Amish Baked Corn
We’re on the home stretch! The delicious ingredients are combined, and now it’s time to get this comforting dish into the oven to transform into that golden-brown, creamy “Amish Baked Corn” we’re dreaming of.
- Pour into the Baking Dish: Carefully pour the entire corn mixture into your generously greased 2-quart (or 9×13 inch) baking dish. Use a spatula to scrape every last bit of that luscious mixture from the saucepan into the dish – you don’t want to leave any goodness behind! Spread it out evenly in the dish. The mixture should fill the dish nicely, but not be overflowing, allowing for a bit of rise during baking.
- Prepare the Optional Topping: If you’re opting for the delightful crunchy topping (and I highly recommend it for added texture!), in a small bowl, combine the 1/2 cup of panko breadcrumbs with the 2 tablespoons of melted unsalted butter. Toss them together with a fork until the breadcrumbs are evenly moistened. This buttered breadcrumb topping adds a fantastic contrast to the creamy interior of the “Amish Baked Corn” and a lovely golden finish.
- Sprinkle the Topping: Evenly sprinkle the buttered breadcrumbs over the top of the corn mixture in the baking dish. Don’t press them down too hard; you want them to remain light and airy to achieve that desirable crispness. If you prefer a simpler “Amish Baked Corn,” you can skip this step entirely, but I find the topping really elevates the dish.
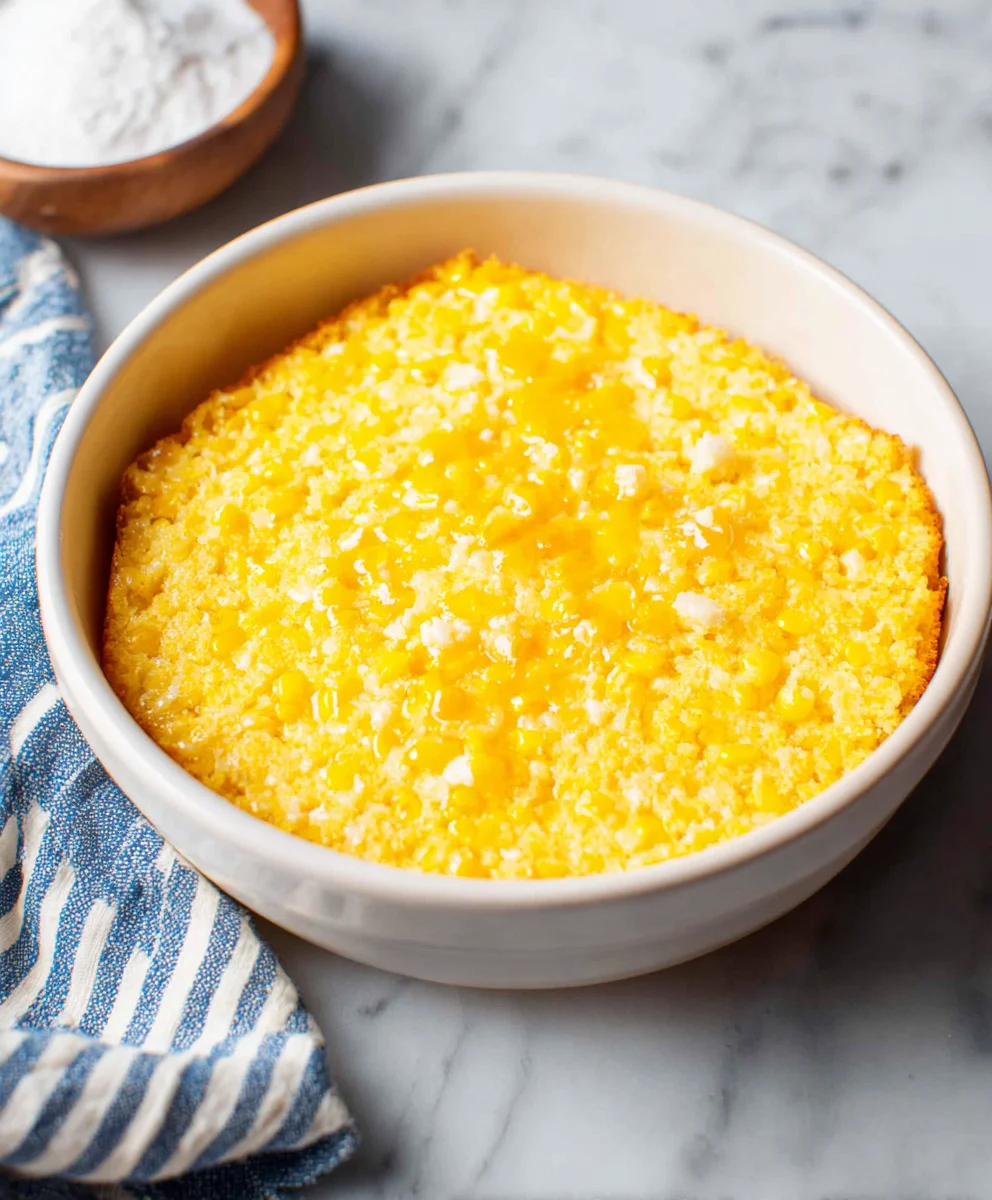
- Bake the “Amish Baked Corn”: Carefully place the baking dish into your preheated 350°F (175°C) oven. Bake for approximately 45 to 60 minutes. The exact baking time can vary depending on your oven and the depth of your dish. You’re looking for the “Amish Baked Corn” to be set in the center – meaning if you gently jiggle the dish, the center should not appear liquid or sloshy. The top should be beautifully golden brown, especially if you added the breadcrumb topping. The edges will be firm, and the whole dish will smell absolutely divine, filling your kitchen with a warm, inviting aroma.
- Check for Doneness: To be absolutely sure, you can insert a knife or a wooden skewer into the center of the “Amish Baked Corn.” If it comes out mostly clean, with just a few moist crumbs clinging to it, your dish is done. Overbaking can lead to a dry or rubbery texture, so keep an eye on it, especially towards the end of the baking time.
Cooling and Serving Your Hearty Amish Baked Corn
The hard part is over! Now comes the truly delightful experience of enjoying the fruits of your labor. This “Amish Baked Corn” is a crowd-pleaser and a perfect side dish for so many meals.
- Rest Before Serving: Once baked to perfection, carefully remove the “Amish Baked Corn” from the oven. This step is important: let it rest for at least 10-15 minutes before serving. This resting period allows the custard to fully set and firms up, making it easier to serve and preventing it from being too runny. It also allows the flavors to meld together even further. Patience is a virtue, especially when it comes to hot, creamy casseroles!
- Serve Warm: This “Amish Baked Corn” is best served warm, straight from the baking dish. It makes an incredible side dish for holiday meals like Thanksgiving or Christmas, potlucks, or simply as a comforting addition to a weeknight dinner of roasted chicken or ham. I love serving it with a sprinkle of fresh parsley for a pop of color, although that’s completely optional.
- Storage and Reheating: If you happen to have any leftovers (which is a rare occurrence in my house with this recipe!), cover the baking dish tightly with plastic wrap or transfer the “Amish Baked Corn” to an airtight container. It will keep well in the refrigerator for up to 3-4 days. To reheat, you can either warm individual portions in the microwave or place the entire dish (covered with foil to prevent drying out) back into a preheated 300°F (150°C) oven until heated through, typically about 20-30 minutes. The flavors tend to deepen overnight, making it just as delicious the next day!
And there you have it – a wonderfully rich, creamy, and satisfying “Amish Baked Corn” that’s sure to become a beloved staple in your recipe collection. Enjoy every comforting bite!
Conclusion:
If there’s one dish I could urge you to add to your repertoire, it would absolutely be this incredible recipe. What we’ve crafted together isn’t just another side dish; it’s a revelation of simple ingredients coming together to create something truly magical. I truly believe that once you taste the creamy, sweet, and utterly comforting embrace of this Amish Baked Corn, you’ll understand why it’s destined to become a staple in your home. It transcends the ordinary, transforming humble kernels of corn into a velvety, flavorful experience that speaks of warmth, tradition, and pure culinary delight. This dish isn’t complicated, yet it delivers a richness and depth of flavor that belies its straightforward preparation. It’s the kind of food that brings people together, sparking conversations and creating cherished memories around the table. From its comforting aroma filling your kitchen to that first satisfying bite, this recipe promises to deliver an unparalleled level of gastronomic satisfaction. It’s a testament to how the simplest ingredients, when treated with care and a touch of love, can produce the most extraordinary results. I genuinely feel this particular rendition captures the essence of classic comfort food, elevating the humble corn to star status on any dining occasion.
Now, let’s talk about how you can best enjoy this glorious creation. While it shines brightly as a centerpiece side dish for any holiday gathering – think Thanksgiving, Christmas, or even Easter dinner – its versatility extends far beyond festive occasions. Imagine it complementing a perfectly roasted chicken, a succulent pork loin, or a hearty glazed ham for a quintessential Sunday dinner. For a more casual affair, it’s an absolute dream alongside grilled steaks, juicy barbecue ribs, or even a simple pan-seared salmon. It brings a creamy sweetness that balances richer main courses beautifully. Don’t limit it to just dinner, though; I’ve found it to be a fantastic addition to a brunch spread, offering a savory-sweet counterpoint to eggs, bacon, or sausages. You could even serve it alongside a hearty chili or a robust stew, adding a layer of comforting texture and flavor. Its gentle sweetness also makes it a kid-friendly option that even the pickiest eaters often adore, proving that wholesome food can also be irresistibly delicious. Think of it as your secret weapon for making any meal feel a little more special, a little more complete, and a lot more memorable.
And the best part? This recipe is incredibly adaptable, allowing you to put your own unique spin on it. For an added layer of indulgence, consider stirring in a handful of shredded sharp cheddar or smoked gouda cheese before baking – it creates a beautiful, gooey crust. If you’re feeling adventurous, a pinch of cayenne pepper or a dash of smoked paprika can introduce a subtle warmth and complexity to the flavor profile. For those who love fresh herbs, a sprinkle of finely chopped chives or fresh parsley just before serving adds a vibrant burst of color and a herbaceous note. To make it a more substantial meal, especially for a weeknight dinner, you could stir in some cooked, crumbled bacon, diced ham, or even shredded rotisserie chicken during the final mixing stage before baking. This transforms it from a side into a comforting casserole. For a lighter touch, you might experiment with using low-fat cream cheese or a dairy-free milk alternative, though I personally vouch for the original richness! The possibilities are truly endless, and each variation simply enhances the inherent deliciousness of the core recipe. It’s a fantastic canvas for your culinary creativity, inviting you to experiment and make it truly your own.
So, my dear friends, there’s truly nothing left to do but roll up your sleeves and give this incredible recipe a try. Gather your ingredients, follow the steps, and prepare to be amazed by how such simple components can create such profound flavor. I am genuinely excited for you to experience the warmth and pure satisfaction that comes with making and sharing this dish. Once you’ve whipped up your own batch of this comforting creation, I would absolutely love to hear all about your experience. Did you stick to the classic, or did you venture into one of the variations? How did your family react? What memorable moments did it create around your table? Please share your stories, your photos, and any brilliant tweaks you discovered in the comments or wherever you connect with us. Your feedback not only brightens my day but also inspires other home cooks to embark on their own culinary adventures. This truly is a recipe that deserves a place in every home, and I can’t wait for you to discover its magic. Go on, bake it, savor it, and let it bring a little extra comfort and joy into your life!
Recipe
A delicious recipe
Ingredients
Instructions
Important Information
Nutrition Facts (Per Serving)
It is important to consider this information as approximate and not to use it as definitive health advice.
Allergy Information
Please check ingredients for potential allergens and consult a health professional if in doubt.


Leave a Comment