

Easy peel boiled eggs the holy grail of breakfast, brunch, and quick snacks! Have you ever spent what felt like an eternity battling stubborn eggshells, only to end up with a mangled, cratered egg? I certainly have, and it’s a frustrating experience we can all relate to. But fear not, because I’m about to share my foolproof method for achieving perfectly cooked, effortlessly peeled boiled eggs every single time.
While the simple boiled egg might seem like a modern convenience, its history stretches back millennia. Eggs have been a staple food source for civilizations across the globe, and the art of boiling them to perfection has been passed down through generations. From ancient Roman feasts to humble family breakfasts, the boiled egg has consistently held its place as a nutritious and versatile food.
So, why do people love this humble dish? Well, for starters, it’s incredibly convenient. Boiled eggs are packed with protein, making them a satisfying and healthy option for a quick breakfast or post-workout snack. They’re also incredibly versatile slice them into salads, mash them into sandwiches, or simply enjoy them with a sprinkle of salt and pepper. But the real magic lies in achieving that perfect peel. No more frustrating shell fragments clinging to your precious egg white! With my simple technique, you’ll be enjoying easy peel boiled eggs in no time. Let’s get started!

Ingredients:
- 12 large eggs, preferably a week old
- Water, enough to cover the eggs by at least 1 inch
- 1 tablespoon white vinegar (optional, but helps with peeling)
- 1 teaspoon salt (optional, but enhances flavor)
- Ice water bath: Large bowl filled with ice and water
Preparing the Eggs for Boiling
Before we even think about boiling, let’s get our eggs ready. Using slightly older eggs (about a week old) makes them much easier to peel. Fresh eggs tend to stick to the shell more stubbornly. If you only have fresh eggs, don’t worry, the vinegar will help!
Carefully place the eggs in a single layer in a large saucepan or pot. Avoid overcrowding the pot, as this can lead to uneven cooking and potentially cracked shells. If you need to, use two pots.
The Boiling Process
- Cover the Eggs with Water: Pour cold water into the pot until the eggs are covered by at least 1 inch. This ensures even cooking.
- Add Vinegar and Salt (Optional): Add the white vinegar and salt to the water. The vinegar helps to dissolve the shell slightly, making it easier to peel later. The salt enhances the flavor of the eggs.
- Bring to a Rolling Boil: Place the pot over high heat and bring the water to a rolling boil. A rolling boil means the water is bubbling vigorously and consistently.
- Turn Off the Heat and Cover: Once the water reaches a rolling boil, immediately turn off the heat. Cover the pot tightly with a lid. This is crucial for achieving perfectly cooked yolks without a green ring.
- Let the Eggs Sit in Hot Water: Let the eggs sit in the hot water, covered, for the following times, depending on your desired yolk consistency:
- Soft-boiled eggs (runny yolk): 6 minutes
- Medium-boiled eggs (slightly soft yolk): 8 minutes
- Hard-boiled eggs (firm yolk): 10-12 minutes
I usually go for 10 minutes for hard-boiled eggs that are perfect for salads or deviled eggs. Adjust the time to your preference!
- Prepare the Ice Water Bath: While the eggs are sitting in the hot water, prepare your ice water bath. Fill a large bowl with ice and cold water. Make sure there’s enough ice to keep the water very cold.
- Transfer Eggs to Ice Water Bath: After the specified time, carefully pour out the hot water and immediately transfer the eggs to the ice water bath. This stops the cooking process and prevents the yolks from turning green.
- Cool the Eggs Completely: Let the eggs sit in the ice water bath for at least 15 minutes, or until they are completely cool to the touch. This is essential for easy peeling. You can even leave them in the ice bath for longer, up to an hour, if you’re not ready to peel them right away.
Peeling the Eggs
Now for the moment of truth peeling! Here’s my foolproof method for easy-peel boiled eggs:
- Crack the Shell: Gently tap the egg all over on a hard surface (like a countertop or sink) to create cracks in the shell. Don’t be afraid to be a little aggressive, but avoid smashing the egg.
- Peel Under Running Water: Hold the egg under a gentle stream of cold running water. Start peeling from the larger end of the egg, where there’s usually an air pocket. The water helps to separate the shell from the egg white.
- Peel Carefully: Use your fingers to gently peel away the shell, working your way around the egg. If you encounter a stubborn spot, try running more water between the shell and the egg white.
- Rinse and Inspect: Once the egg is peeled, rinse it under cold water to remove any remaining shell fragments. Inspect the egg for any imperfections or remaining shell pieces.
- Repeat: Repeat the peeling process with the remaining eggs.
Tips for Perfect Easy-Peel Boiled Eggs
- Use Older Eggs: As mentioned earlier, older eggs are easier to peel. If you’re planning to make boiled eggs, try to use eggs that are at least a week old.
- Don’t Overcrowd the Pot: Make sure the eggs are in a single layer in the pot. Overcrowding can lead to uneven cooking and cracked shells.
- Use Enough Water: The eggs should be covered by at least 1 inch of water. This ensures even cooking.
- The Ice Water Bath is Crucial: Don’t skip the ice water bath! It stops the cooking process and makes the eggs much easier to peel.
- Peel Under Running Water: Peeling under running water helps to separate the shell from the egg white.
- If the Shell Sticks: If you’re having trouble peeling an egg, try rolling it gently on a hard surface to loosen the shell. You can also try tapping it more aggressively to create more cracks.
- Storage: Hard-boiled eggs can be stored in the refrigerator for up to a week. Store them in their shells to prevent them from drying out.
Troubleshooting
Sometimes, even with the best intentions, things don’t go exactly as planned. Here are some common problems and how to fix them:
Green Ring Around the Yolk
A green ring around the yolk is a sign of overcooking. It’s caused by a reaction between iron and sulfur in the egg. While it’s not harmful, it’s not the most appealing. To prevent this, make sure you don’t overcook the eggs and that you cool them quickly in an ice water bath.
Cracked Shells
Cracked shells can happen if the eggs are too cold when they’re placed in boiling water, or if the water is boiling too vigorously. To prevent this, start with cold water and gently bring it to a boil. You can also add a tablespoon of vinegar to the water, which helps to strengthen the shells.
Difficult to Peel
If the eggs are difficult to peel, it could be because they’re too fresh. Try using older eggs, or add a tablespoon of baking soda to the water. Baking soda helps to loosen the shell.
Serving Suggestions
Now that you have perfectly peeled hard-boiled eggs, what can you do with them? The possibilities are endless!
- Deviled Eggs: A classic appetizer that’s always a crowd-pleaser.
- Egg Salad Sandwiches: A simple and satisfying lunch.
- Salads: Add sliced or quartered hard-boiled eggs to salads for extra protein.
- Snacks: Enjoy a hard-boiled egg as a healthy and filling snack.
- Pickled Eggs: A tangy and flavorful treat.
- Scotch Eggs: A delicious and indulgent snack or appetizer.
- Garnish: Use chopped hard-boiled eggs as a garnish for soups, salads, and other dishes.
I hope you found this recipe helpful! With these tips and tricks, you’ll be able to make perfect, easy-peel boiled eggs every time. Enjoy!
Conclusion:
So, there you have it! My foolproof method for achieving perfectly cooked, easy peel boiled eggs every single time. I know, I know, it sounds almost too good to be true, but trust me, once you try this technique, you’ll never go back to struggling with stubborn shells again. This isn’t just about aesthetics; it’s about saving time, reducing frustration, and ultimately, enjoying your eggs even more!
Why is this recipe a must-try? Because it’s simple, reliable, and delivers consistent results. We’re talking about eggs that practically jump out of their shells, leaving you with smooth, beautiful, and ready-to-eat protein powerhouses. Forget those mangled, pockmarked eggs that look like they’ve been through a war zone. With this method, you’ll have picture-perfect boiled eggs that are worthy of any breakfast plate, salad, or deviled egg platter.
But the beauty of boiled eggs lies not just in their ease of preparation, but also in their incredible versatility. Think beyond just a simple breakfast. These easy peel boiled eggs are fantastic sliced over a vibrant green salad with a tangy vinaigrette. They’re the perfect addition to a protein-packed lunchbox. And, of course, they’re the star ingredient in classic deviled eggs, which are always a crowd-pleaser at parties and potlucks.
Serving Suggestions and Variations:
- Deviled Eggs Deluxe: Mash the yolks with mayonnaise, Dijon mustard, a dash of hot sauce, and a sprinkle of paprika. For an extra touch of elegance, garnish with chopped chives or a sprinkle of smoked paprika.
- Egg Salad Sandwich: Combine chopped boiled eggs with mayonnaise, celery, onion, and a touch of salt and pepper. Spread on your favorite bread for a quick and satisfying lunch.
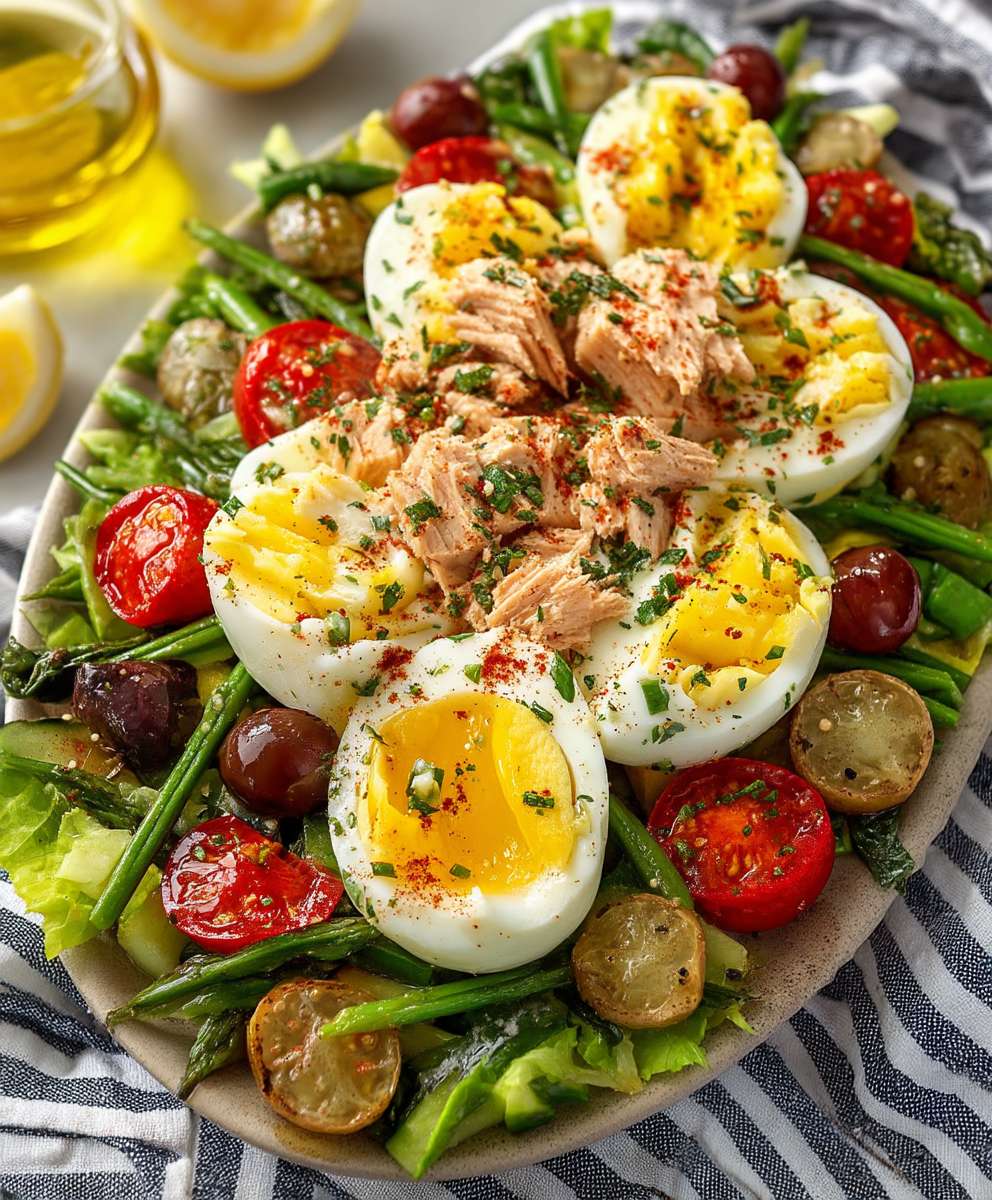
- Nicoise Salad: Create a classic Nicoise salad with boiled eggs, tuna, olives, tomatoes, green beans, and potatoes. Drizzle with a simple vinaigrette for a light and refreshing meal.
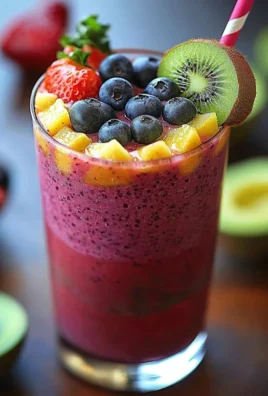
- Breakfast Bowls: Add sliced boiled eggs to your breakfast bowls for an extra boost of protein. Combine with avocado, whole grains, and your favorite toppings.
- Pickled Eggs: For a tangy twist, pickle your boiled eggs in a brine of vinegar, water, sugar, and spices. These are great as a snack or appetizer.
Don’t be afraid to experiment and get creative! You can add different spices to the boiling water to infuse the eggs with flavor. Try adding a bay leaf, a few peppercorns, or a pinch of chili flakes. You can also adjust the cooking time to achieve your desired level of doneness, from soft-boiled to hard-boiled. The possibilities are endless!
I truly believe that mastering the art of the perfect boiled egg is a fundamental cooking skill. And with this simple technique, you’ll be well on your way to becoming an egg-cellent chef (pun intended!). So, what are you waiting for? Grab a carton of eggs, follow my instructions, and prepare to be amazed at how easy it is to achieve perfectly cooked, easy peel boiled eggs.
I’m so confident that you’ll love this recipe that I can’t wait to hear about your experience. Please, give it a try and share your results in the comments below. Let me know if you have any questions or if you’ve discovered any variations that you’d like to share. Happy egg-peeling!
Easy Peel Boiled Eggs: The Ultimate Guide to Perfect Results
Make perfect, easy-to-peel hard-boiled eggs every time! This guide covers preparation, effortless peeling, and troubleshooting tips.
Ingredients
- 12 large eggs, preferably a week old
- Water, enough to cover the eggs by at least 1 inch
- 1 tablespoon white vinegar (optional, but helps with peeling)
- 1 teaspoon salt (optional, but enhances flavor)
- Ice water bath: Large bowl filled with ice and water
Instructions
- Prepare the Eggs: Place eggs in a single layer in a large saucepan.
- Add Water, Vinegar, and Salt: Cover eggs with cold water (at least 1 inch above the eggs). Add vinegar and salt (optional).
- Bring to a Boil: Bring the water to a rolling boil over high heat.
- Turn Off Heat and Cover: Immediately turn off the heat and cover the pot tightly with a lid.
- Let Sit in Hot Water: Let the eggs sit in the hot water, covered, for the following times:
- Soft-boiled eggs (runny yolk): 6 minutes
- Medium-boiled eggs (slightly soft yolk): 8 minutes
- Hard-boiled eggs (firm yolk): 10-12 minutes
- Prepare Ice Water Bath: While the eggs are sitting, fill a large bowl with ice and cold water.
- Transfer to Ice Water Bath: After the specified time, pour out the hot water and immediately transfer the eggs to the ice water bath.
- Cool Completely: Let the eggs sit in the ice water bath for at least 15 minutes, or until completely cool.
- Peel the Eggs: Gently tap the egg all over on a hard surface to create cracks in the shell.
- Peel Under Running Water: Hold the egg under a gentle stream of cold running water. Start peeling from the larger end of the egg.
- Peel Carefully: Use your fingers to gently peel away the shell, working your way around the egg.
- Rinse and Inspect: Once the egg is peeled, rinse it under cold water to remove any remaining shell fragments. Inspect the egg for any imperfections or remaining shell pieces.
- Repeat: Repeat the peeling process with the remaining eggs.
Notes
- Using older eggs (about a week old) makes them easier to peel.
- Don’t overcrowd the pot.
- The ice water bath is crucial for stopping the cooking process and making the eggs easier to peel.
- Peeling under running water helps separate the shell from the egg white.
- Hard-boiled eggs can be stored in the refrigerator for up to a week in their shells.
- A green ring around the yolk is a sign of overcooking.
- Cracked shells can happen if the eggs are too cold when they’re placed in boiling water, or if the water is boiling too vigorously.
- If the eggs are difficult to peel, it could be because they’re too fresh.


Leave a Comment